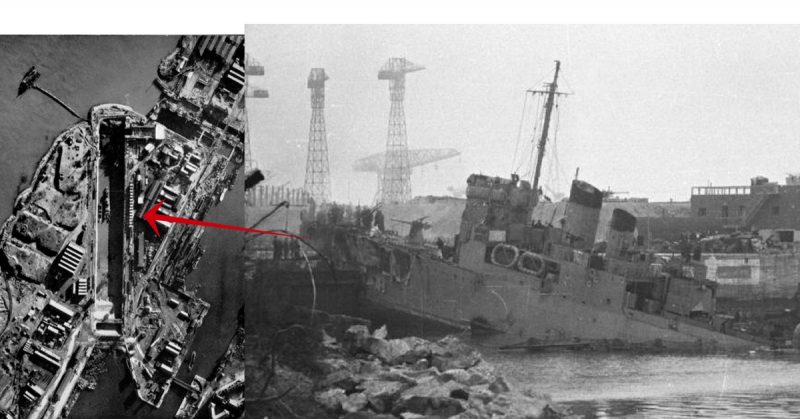
On 28 March 1942, British forces launched one of the most daring operations of the Second World War. Now known as “The Greatest Raid of All”, Operation Chariot was an attack on the docks at St Nazaire in German-occupied France. It was a feat of cunning and daring that helped to shape the war at sea.
1. The Aim of the St Nazaire Raid

Situated on the west coast of France, the town of St Nazaire was home to a dry dock that had been the largest in the world when it was built in 1932. It was an important strategic asset for the German fleet in World War Two. The dry dock could be used to repair large warships damaged in the Atlantic, where such behemoths as the Bismarck and the Tirpitz had caused grief for the Royal Navy.
By taking out the St Nazaire docks, the British hoped to force large German warships to take a longer route home for repairs elsewhere on the continent. This would not only leave them out of action for longer but also force them to pass through the heavily defended seas around Britain, where the Royal Navy and Air Force could finish them off.
2. The Strike Force
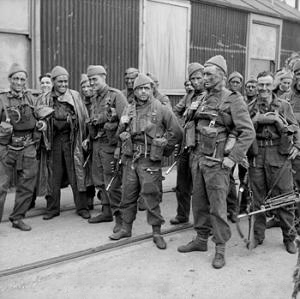
The forces for the attack consisted of 265 commandos and 346 Royal Navy personnel.
Central to the plan was HMS Campbeltown, a First World War-era destroyer that had been obtained from the American navy in 1940. Stripped of much of its equipment, it was fitted with extra armour at the bow, which was filled with 4.5 tonnes of high explosives. The chimney stacks were cut to make it look more like a German ship during its approach.
Accompanying the Campbeltown were two destroyers and a flotilla of motorboats, some to provide fire support and others to transport personnel out at the end of the raid.
3. The German Defenders
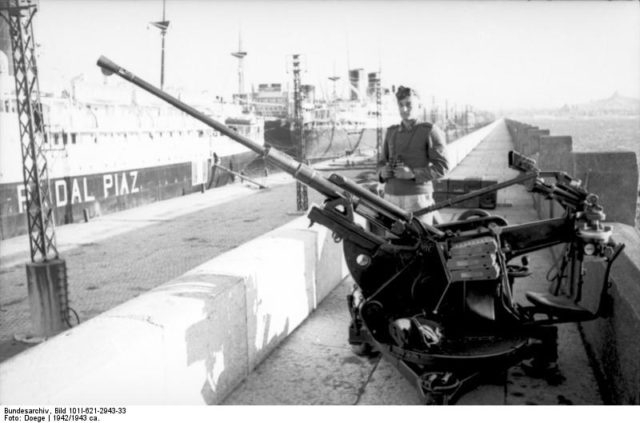
The Germans had around 5,000 troops in the St Nazaire area. 28 guns, ranging in calibre from 75mm to 280mm, guarded the port against attacks from the sea, while 43 anti-aircraft guns could also be turned against naval targets.
A destroyed, an armed trawler, and a minesweeper were all stationed permanently at the docks. 14 other surface vessels were there on the night of the raid. U-boats were stationed out of St Nazaire, but it is not known how many were present that night.
On the day before the raid, Herbert Sohler, commander of one of the U-boat flotillas, said that “an attack on the base would be hazardous and highly improbable”.
4. Ramming the Docks
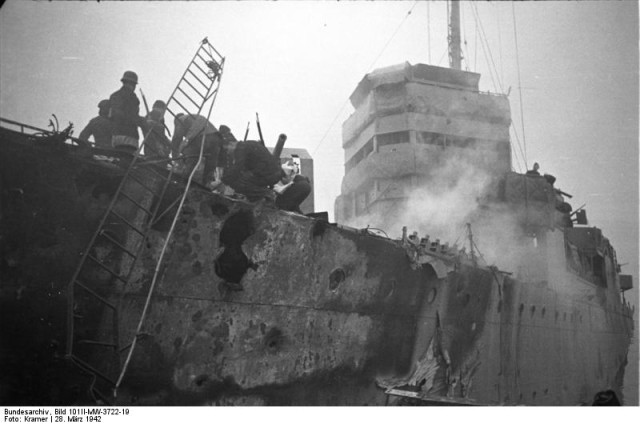
On the night of 27 March 1942, the improbable happened.
At 23:30, British bombers began attacking the port, drawing German searchlights and anti-aircraft fire. Unusual behaviour by the bombers caused the Germans to suspect that something was amiss. At 01:00 on 28th March, the guns ceased firing and spotlights were shut off, rather than help the British identify where the port was in the darkness.
It was too late. The British had already entered the Loire estuary. At 01:22 the German spotlights were switched on again, this time illuminating the British convoy minutes out from the coast.
Identifying themselves as friendly ships, the British gained a few more moments to approach, but the Germans swiftly saw through the deception. Every gun on the docks opened fire.
The Campbeltown lost two helmsmen as it approached the shore – one dead and one wounded. At 01:34 she hit the dock gates at a speed of 19 knots, the impact driving her 33 feet onto them.
The explosives, timed to trigger after British personnel had escaped, sat waiting in the bow.
5. Commando Landings
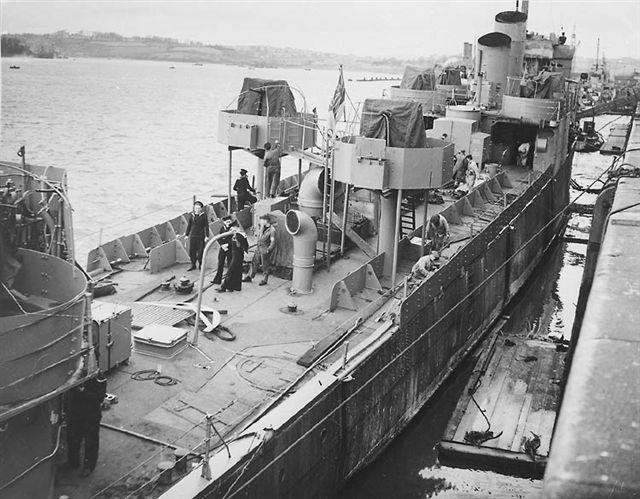
Commandos poured off the Campbeltown and spread out along the docks. Assault teams engaged in firefights with the German defenders, while demolition teams set about destroying important equipment with explosives. German defenders prevented them from hitting all their targets, but many facilities on the docks were destroyed.
Lt Col Newman had not needed to land as part of the attack, but he was one of the first ashore. Taking command of the troops, he organised a defence against growing German forces while the demolition teams did their work.
6. Cut Off
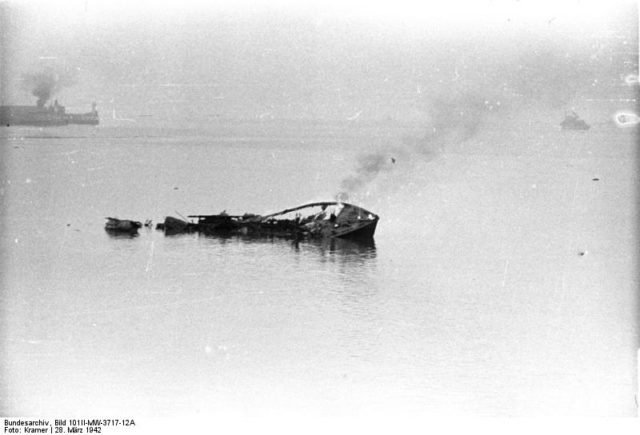
Meanwhile, fire was being exchanged between the flotilla and the German gun batteries. Many motor boats were destroyed, and not all the evacuation boats were able to reach the docks. Having set the scuttling charges on the Campbeltown, many of its crew were evacuated. But with 100 commandos still on shore, Newman realised that they could no longer be rescued by sea.
Gathering the survivors, he gave them three orders:
- To do their best to get back to England;
- Not to surrender until all their ammunition was exhausted;
- Not to surrender at all if they could help it.
7. Fighting On
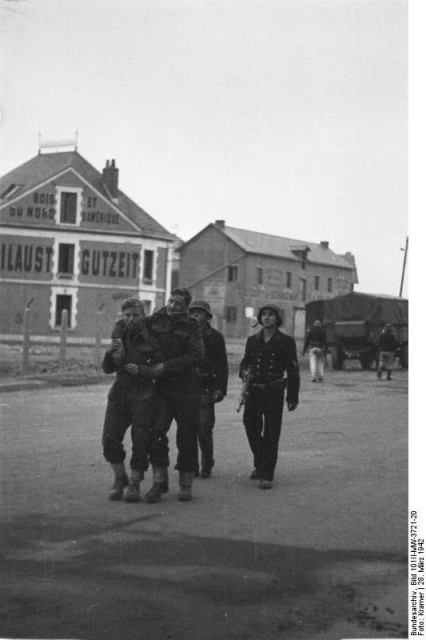
The stranded commandos charged across a bridge from St Nazaire’s old town to its new town and tried to fight their wait out through the narrow streets. But they were hugely outnumbered, running low on ammunition, and soon surrounded. At last, with all the ammunition gone, they surrendered.
A handful of men escaped. These five commandos made their way south with the help of French civilians. Eventually reaching neutral Spain, they returned from there to England.
8. Aftermath
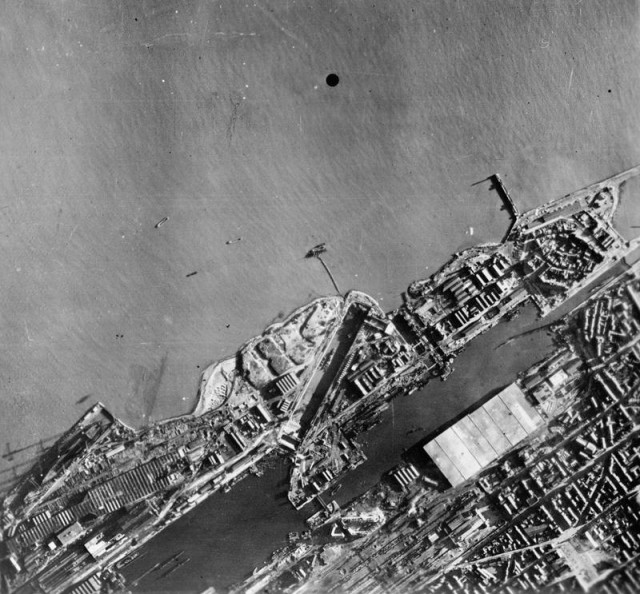
Several tense hours followed the fighting. The explosives aboard the Campbeltown were meant to trigger at 04:30 but did not, possibly because of a problem with the fuses. A growing number of British soldiers held captive at German headquarters waited to see if their work would pay off.
Around noon, a group of senior German officers and civilians were inspecting the Campbeltown, unaware of the danger she contained. Without warning, the bow exploded, killing them and 320 others. The dry dock was destroyed and remained out of action for the rest of the war.
The raid had been a success, but at a huge cost. Of 622 men who took part, 169 were killed and 215 captured. 89 decorations were awarded for the daring service of the men who took part in the raid.
