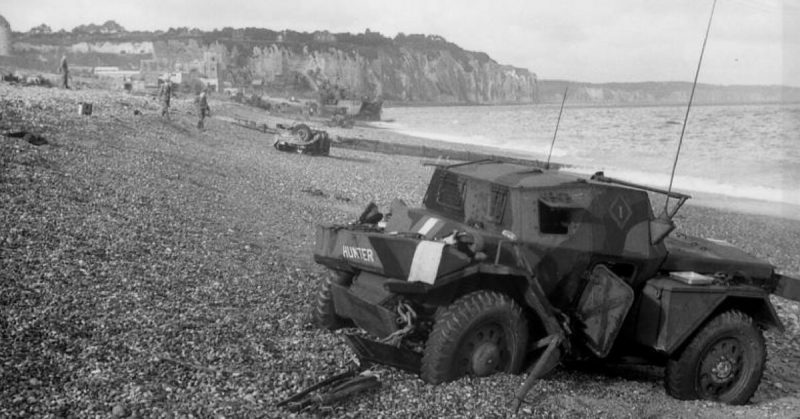
The Dieppe Raid which happened in Northern France, in 1942, positioned itself in history as ground zero for all large-scale invasion operations in WWII conducted by the Allied forces ― the most important being Operation Overlord, or the Invasion of Normandy on 6th of June, 1944. Even though the Dieppe Raid ended up as a complete disaster, with many lives lost and loads of equipment destroyed, it was a valuable lesson for the Allies, as they probed the defenses of German fortification in continental Europe. Operation Torch, which was the codename for Allied landings in North Africa happened just three months after the raid, and it was far more successful than the operation that preceded it.
Still, it was arguably a failure, since the British and Canadian forces underestimated the Germans who held the coast of Normandy with a firm grip.
1. The Mission
In early 1942 all combat activity in Europe was focussed on the Eastern Front. The United Kingdom managed to escape annihilation after reclaiming the skies above the island in a bloody aerial knockdown known as the Battle of Britain and was under a lot of diplomatic pressure from the Soviet Union to open up a western front, to take the pressure off the Red Army’s efforts.
The Allies considered their options and decided to plan a raid on the French port, Dieppe, on the coast of the La Manche Channel. Since the disaster of Dunkirk, the British assembled the Combined Operations Headquarters, under whose supervision commando raids were conducted to harass the Germans stationed in the French coastline, but these efforts were not nearly enough to affect the Germans significantly enough to withdraw their divisions from the east.
The Combined Operations Headquarters was trusted with an assignment of taking the port city of Dieppe, holding it for the duration of two tides, which is about 12 and a half hours. The operation was initially codenamed Rutter, but in its last stage was renamed Jubilee, and its execution date was rescheduled from April to 19th of August. It employed 6,086 men. 5,000 were Canadian, 1,000 were British, and there was a strike force of 50 American Rangers. It was to be an exercise in amphibious landings as it was seen as the only possible way of forming a second front.
2. The Momentum
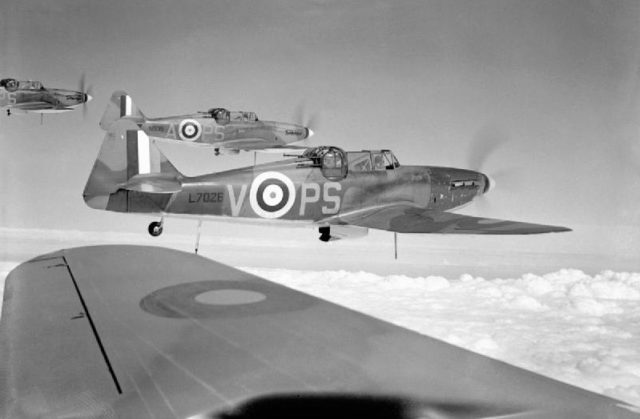
After the Battle of Britain, the Luftwaffe shifted to night attacks. The British day-fighters were turned into a “force without a mission”, as it was put by a Canadian historian Terry Copp. Also, the RAF had significant losses at the time, due to Luftwaffe’s tactical superiority and their use of the new Focke-Wulf Fw 190 fighter, which proved to have better performances than the Hurricane or the Spitfire.
The RAF was looking for an opportunity for an open conflict on the sky above France, in order to restore its moral and prove its value. The Royal Airforce was already involved in skirmishes over France, but with a devastating death toll: they lost 259 Spitfires during a three-month period in 1941. In addition to that, Canadians lost another 152 aircraft during the time. The German losses were uncomparable ― only 59 aircraft. The Germans, who were in a position to defend themselves, used every advantage available.
So the RAF was itching for a rematch. It was determined that Operation Jubilee would be interpreted by the Germans as an attempt for a full-scale invasion, so it would attract the Luftwaffe to get out of the comfort zone and face the RAF on their terms. The British wanted to stage a large battle over the coast of France, which would even the odds, since the only aerial engagement after the Battle of Britain was deep into French territory, where the Germans had an upper hand.
3. The Beaches of the Dieppe Raid
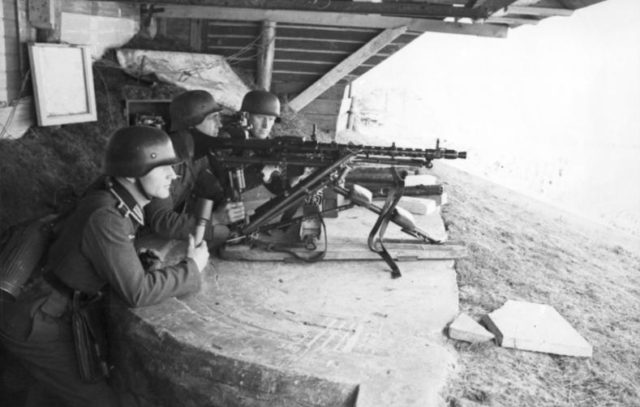
The coast along the town of Dieppe was divided into six landing zones ― beaches codenamed Yellow, Green, Red, White, Blue, and Orange. Four beaches (Green, Red, White, Blue) were in front of the town, while the remaining two (Yellow and Orange) were on the eastern and western flank. The beaches Red and White were seen as the main objectives which employed the most troops. The beaches Yellow and Orange were set up to neutralize the coastal gun emplacements that were to pin down the invading force.
4. The Use of the Landing Craft Tank
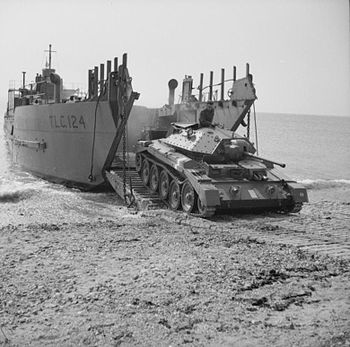
At the time, the use of landing craft tank was a game-changing innovation. Tanks were specifically modified to serve as support vehicles for the landing of the Dieppe beachheads. The tank support included 58 Churchill tanks adapted for wet sands and shallow water conditions.
Modified Churchill tanks were armed with a mixture of armament with QF 2 pounder gun–armed tanks fitted with a close support howitzer in the hull operating alongside QF 6 pounder–armed tanks. Also, three of the Churchills were equipped with flame-thrower equipment.
5. Insufficient Bombardment Effort
Naval support was scarce. Even though 237 ships were designated to support the landings, there was no bombardment before the start of the operation. The situation was still very sensitive in the relations between Britain, Vichy France and the Free French and the Allied command didn’t want to risk unnecessary civilian casualties during the bombardment of the town.
Also, First Sea Lord Sir Dudley Pound, who was responsible for the naval support refused to involve any of his capital ships, for he feared they could be sunk by a swift aerial attack. He considered the risk to be too great since neither the British nor the Canadians could’ve guaranteed safe skies once the action commenced. The RAF designated 74 aircraft squadrons, 66 of which were fighter squadrons, but no aerial bombing was conducted before the start of the mission, also out of fear of collateral damage.
6. Gun Silencing Operations
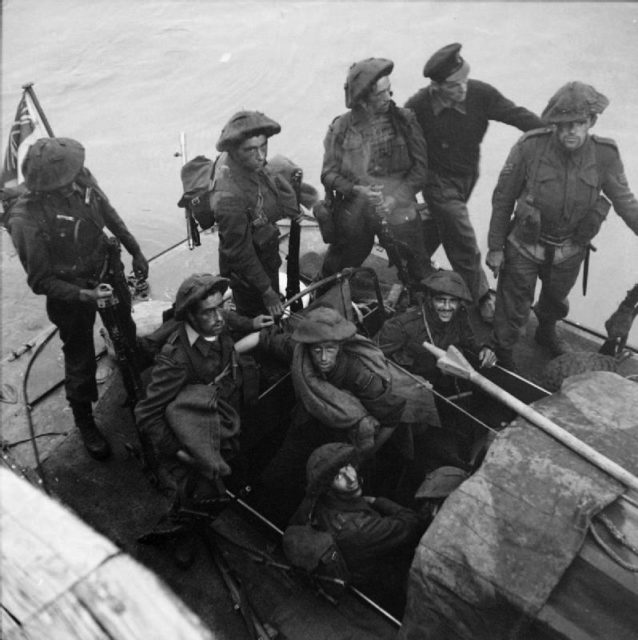
On 19th of August, 1942, at 5:00 AM, Operation Jubilee was in full swing. The landings on Yellow and Orange beaches were the primary objective, as the coastal batteries represented a deadly threat to the rest of the operation. On beach Yellow, German fast attack boats managed to torpedo some of the landing crafts. Enemy coastal guards were fully alerted. Only 18 commandos managed to land on the designated beach. Since they only had small arms, they were unable to neutralize the battery but managed to pin down the artillery crew for a short while. This proved to be enough for the rest of the fleet to continue the landings and give support.
The beach designated as Orange proved to be the best-conducted part of Operation Jubilee. Colonel Lord Lovat and No. 4 Commando (including 50 United States Army Rangers) landed precisely and took on the coastal batterie with force. They climbed the steep slope, neutralized the target, held it for almost two and a half hours, and withdrew at 7:30 AM, as it was planned. Meanwhile, an utter bloodshed was happening along the French coast, as other landing zones weren’t secured so easily.
7. Main Landings
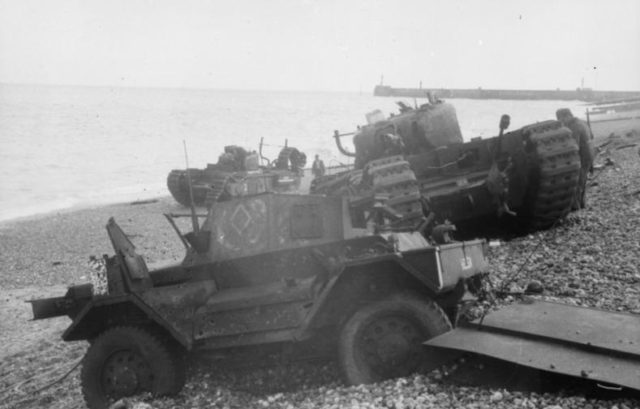
While the landings on beaches Blue and Green suffered many casualties, beaches Red and White were the true disasters of the operation. Once the Allied troops landed under the protection of a dense smokescreen, the German defense started a barrage of machine gun fire. Lacking solid cover, the British and Canadian troops were gunned down rapidly. The tanks arrived too late and they proved to be ineffective against the coastal defenses. Witnesses claimed that it was a carnage with soldiers being cut down by German fire all along the sea wall while the commanding officer, desperately tried to use a broken radio to contact the HQ in a general lack of idea what to do, while ignoring his men.
The Churchill tanks tried to change the tide on the landings, but only 29 of them was deployed. Twelve of them got bogged down in sand, while two sank into the deep sea, never reaching the shore. The rest was soon abandoned, while the crews were either dead or left for prisoners. Since the smokescreen limited the sight of the commanding officers aboard the destroyers from which the operation was taking place, reserve units were sent and were massacred as well. German speedboats managed to sink many landing crafts before they could even reach the shore.
8. Air Battle
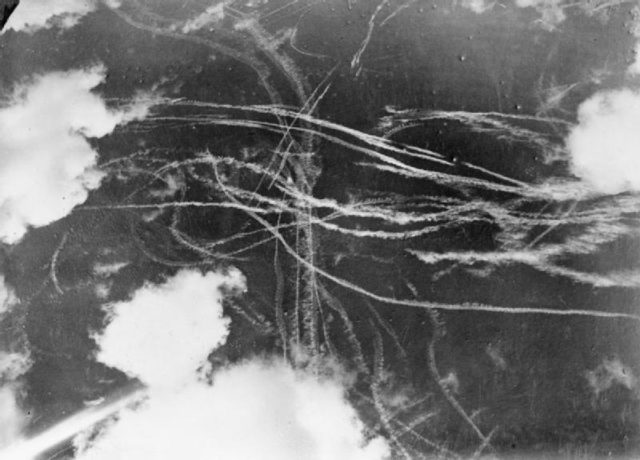
The long awaited deathmatch between the RAF and the Luftwaffe. The RAF’s main objectives were to throw a protective umbrella over the amphibious force and beach heads and also to force the Luftwaffe forces into a battle of attrition on the Allies’ terms. Using a variety of fighter squadrons, bombers, and reconnaissance aircraft, they engaged in a fierce battle above the town of Dieppe with 120 German planes.
The RAF managed to gain some air superiority during the landings, but their losses were grave ― 91 British aircraft was shot down, with additional 14 Canadian planes. Most of the pilots who were shot down either died or were taken, prisoner. Opposed to that figure, the Germans lost 48 aircraft and 24 more seriously damaged. The pilot death toll on the Luftwaffe was just 13!
9. Intelligence Effort
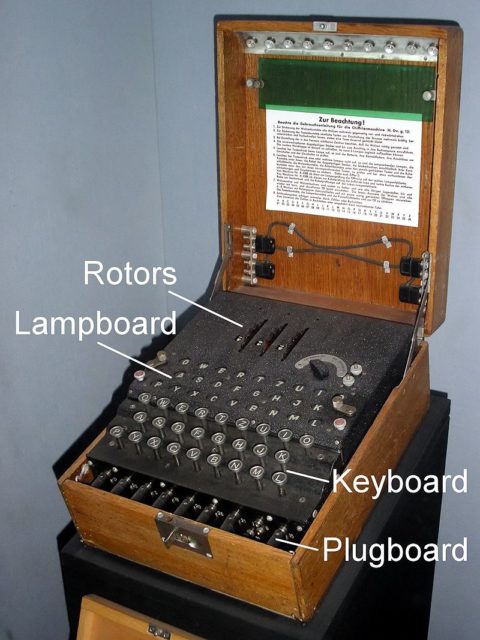
Apart from the military goals of taking the town of Dieppe and holding it, the Allies planned to gain some intelligence advantage out of the operation. Some historians even claim that the entire landing operation was merely a cover for capturing the German Enigma machine and deciphering the codes the Nazis used.
Apart from the unsuccessful attempt to retrieve the Enigma machine, the British intelligence was keen on examining the Pourville Radar Station near Dieppe. A small commando unit was sent to occupy the station, but with little success. What they did manage to do was to cut the telephone cords from the radar station. This forced the Germans to use the radio, which was easily intercepted by the British. Also, the commandos confirmed the density of German radar stations along the French coast.
10. Aftermath
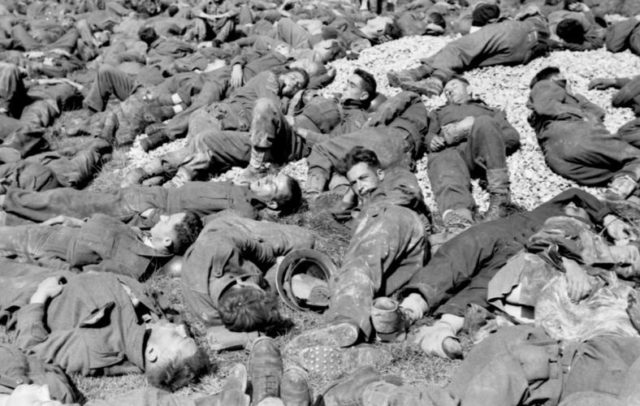
Out of 6,086 men who landed on the beaches around Dieppe, 3,367 (around 60%) were either killed, captured or wounded. All tanks that managed to land were either destroyed or abandoned and 106 British and Canadian aircraft were shot down by enemy fighters or anti-air defenses. The Germans were outnumbered but not outgunned, as the force of 1,500 soldiers managed to fight off the Allied landing force.
After the raid, an analysis was conducted which pointed out five necessary changes needed to conduct a successful landing operation:
- the need for preliminary artillery support, including aerial bombardment;
- the need for a sustained element of surprise;
- the need for proper intelligence concerning enemy fortifications;
- the avoidance of a direct frontal attack on a defended port city; and,
- the need for proper re-embarkation craft.
All five were utilized in landings in North Africa, Sicily, and Normandy.
