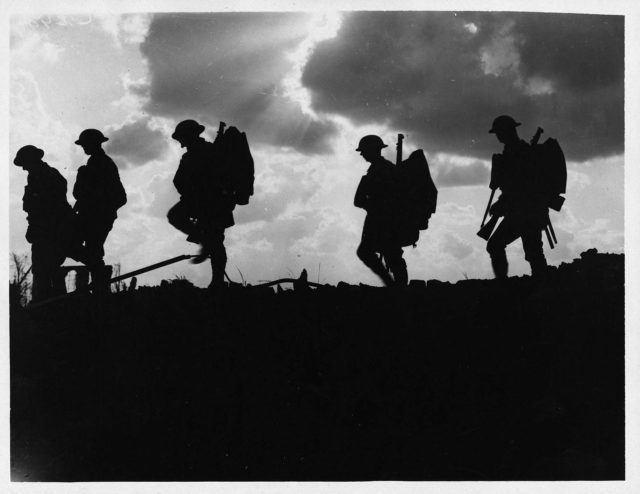
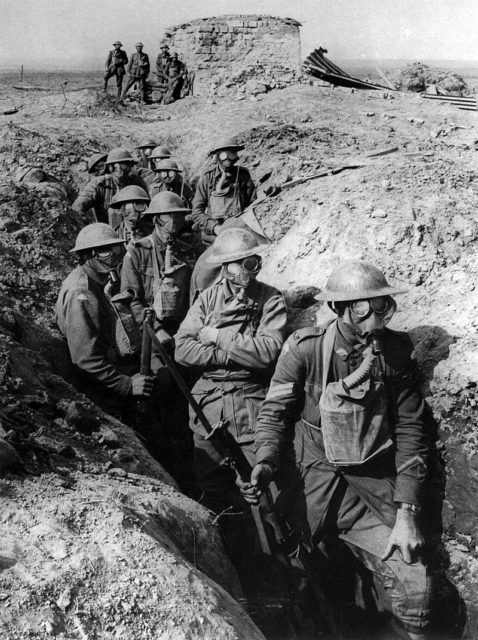
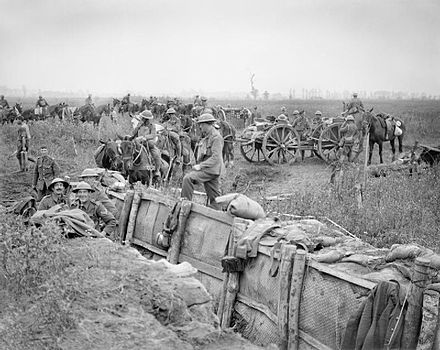
Fought during the First World War, the Third Battle of Ypres was the leading British offensive of 1917. Taking place at the much fought over Ypres Salient, it saw the Allies make small but significant advances.
First Phase
The Third Battle of Ypres began at 0350 on July 31, 1917. It started with a creeping barrage – a line of falling shells that progressed across no man’s land toward the German trenches, providing cover for the British troops as they advanced.
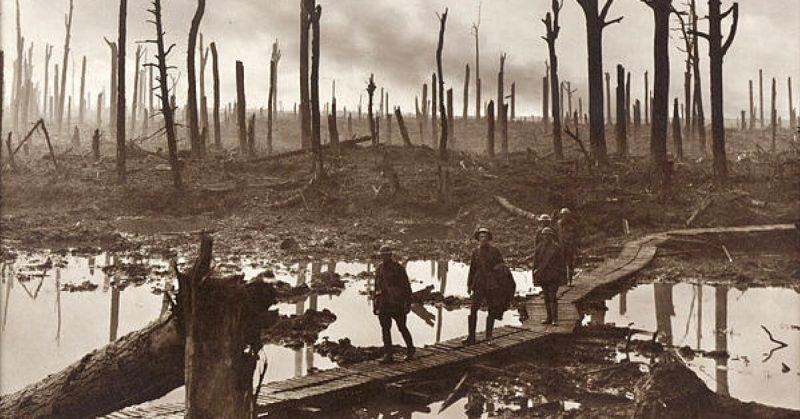
It had been raining heavily for days. Between this and the shells, the ground had been turned into a muddy quagmire that made advancing hard, miserable work. It was the defining feature of Ypres for many soldiers; fighting in a man-made swamp.
The troops who launched the battle, and who represented the British throughout its first phase, were the Fifth Army under General Gough.

In some places, initial targets were taken in just over an hour. In others, the British faced fierce resistance. Pillboxes provided the Germans with strong defensive positions. These had to be taken out one by one, sometimes with the assistance of the newly formed Tank Corps. The tanks had even more trouble with the sodden ground than the infantry did and in places became completely bogged down.
For a week, torrential rain continued. The British made slow advances. The Germans responded with counter-attacks.
The battle continued throughout August. On the 21st and the 27th, the British launched major new assaults. Fighting in some areas, such as Inverness Copse and Glencourse Wood, was particularly relentless resulting in no success for either side.
By the end of the month, Langemarck and Springfield had fallen. 4,000 yards was not much of an advance for four weeks’ work and 68,000 casualties.
Second Phase
Dissatisfied with Gough’s achievements, Field Marshal Haig now turned to General Plumer and his Second Army, based at the center of the salient. The weather became drier during the weeks in which Plumer prepared for his attack. New trenches were dug, and sporadic fighting continued.
Plumer’s advance launched on September 20, took the British troops along the Menin Road Ridge. Again advancing behind a creeping barrage, they made good progress in the face of stiff German resistance. Much ground was taken south of the Menin Road, and the much fought over Glencourse Wood finally fell to Australian troops. In places such as Tower Hamlets the Germans held on.

On the left, Australian troops reached the edge of Polygon Wood. It was a valuable defensive position, and on September 26, they began a renewed attack to drive the Germans out. Such was the enthusiasm and aggression of the Australians the Germans were almost driven out of the wood in a single day of fighting. Australian units overtook each other in their eagerness to join the fray.
On the morning of October 3, in the pouring rain, both sides prepared to launch attacks. The German guns opened up with their artillery first, catching the Allied troops in the open where they were waiting to advance. As the Allied guns were fired, the infantry immediately rushed forward, not wanting to wait while the Germans shot them.
The sudden surprise of this assault scattered many of the Germans. The Allies made mixed advances, some small, others significant, as at Broodseinde Ridge.
As the day progressed, the rain became a full storm. Advances by both sides stopped.
Both sets of commanders were dissatisfied with the results. Haig was determined to press on, despite the opinions of Plumer and Gough. Passchendaele Ridge was almost within their grasp, and he was determined to have it.
Third Phase
The rain poured down, and the men once again found themselves living in mud. Artillery could not be brought forward, having been bogged down.
On October 9, the Battle of Poelcapelle began. Mud stalled the British advance, and only on the extreme left was anything achieved.
The final British push of the Third Battle of Ypres began on October 12. It was the First Battle of Passchendaele.

The first day of the attack was largely a futile endeavor. British troops, along with Australians and New Zealanders of the ANZAC Division, made attempts to advance all along Passchendaele Ridge. The 3rd and 4th Australian Divisions were held up with little gain. New Zealanders became caught in barbed wire and were gunned down. The village of Passchendaele was briefly taken, but by too few men to hold it.
Operations were suspended while Haig waited for the weather to improve. In the meantime, he called in the Canadian troops, veterans of past fighting around Ypres.
The Canadians, led by Lieutenant-General Sir Arthur Currie, launched their attack on October 26 after four days of shelling. It was the Second Battle of Passchendaele. Step by step, bunker by bunker, the Canadians and supporting Allied troops advanced up the Ridge, taking out pillboxes by throwing grenades through the entrances.
A second push on October 30 was followed by a series of German counter-attacks, which the Allies fought off.
On November 6, while other Allied troops created a diversion on the flanks, the Canadians once again advanced. They bore the brunt of the fighting and the casualties. They also brought victory, finally securing Passchendaele Ridge for Haig.
The final act came on November 10 as Canadian and British troops made advances in the north in pouring rain. The Germans bombarded Passchendaele remorselessly for four days but were unable to dislodge the Canadians.
On November 15, Haig declared the Third Battle of Ypres to be over.
Aftermath
Ypres was a devastating and demoralizing experience for both sides. The Allies had taken ground, but at a terrible cost, with nearly a quarter of a million casualties on each side. They at least had the consolation of a victory of sorts, whereas the Germans had suffered losses and defeat in the battle.
Ypres became one of the most powerfully remembered battlefields of the First World War, a byword for mud, blood, and terrible death.
Sources:
Martin Marix Evans (2002), Over the Top: Great Battles of the First World War.
Richard Holmes, ed. (2001), The Oxford Companion to Military History.
