Where did the fight in the Pacific stand?
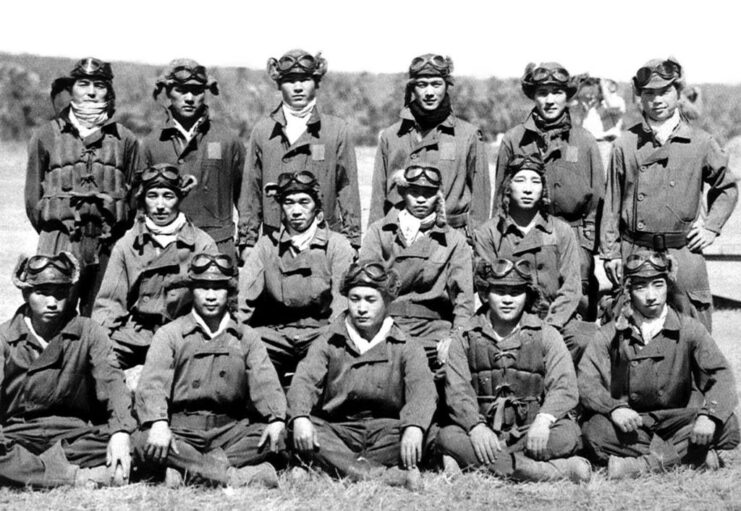
Following the Battle of Midway and into late 1942, Japan began to realize the vulnerability of its forces in the Southwest Pacific, notably in New Guinea. With increased determination, the Allies initiated multiple offensives on the island, seeking to seize control of the Japanese stronghold at Rabaul, New Britain. Success in this endeavor would pave the way for later attempts to free the Philippines from enemy occupation.
Among the Allied nations engaged in these campaigns, Australia was particularly concerned about Japan’s encroachment in the area, considering its proximity to the Australian-held Papua territory.
Bulking up defenses in the lead up to the Battle of the Bismarck Sea
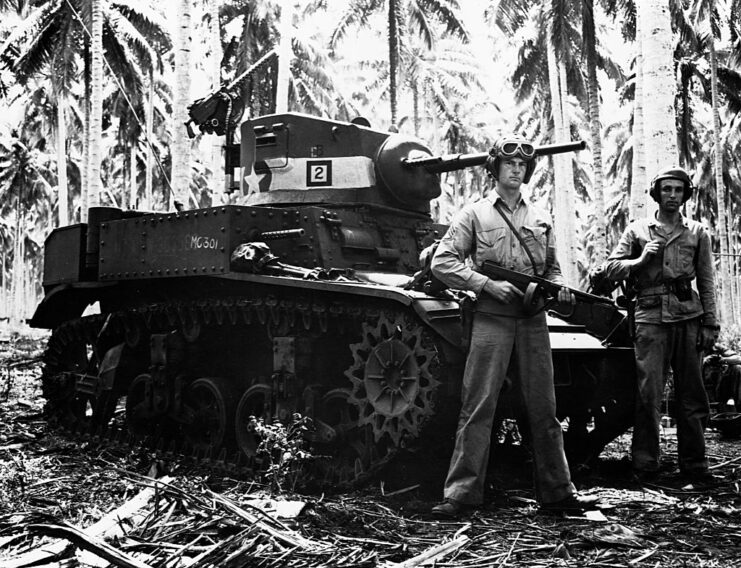
With the Allies putting up a strong fight during the Guadalcanal Campaign, the Japanese knew they needed to shore up any and all defenses they had in the Southwest Pacific. In late 1942, several divisions were sent to New Guinea, followed by more troops once Guadalcanal was evacuated in January ’43.
Little did the Japanese know that the Allies were aware of their movements, thanks to intelligence gathering. Aircraft with the US Army Air Forces (USAAF) and the Royal Australian Air Force (RAAF) attacked a convoy of ships moving from Rabaul to Lae, New Guinea, and successfully downed 69 enemy aircraft and the transport SS Nichiryu Maru.
However, they couldn’t stop those who remained from reaching their destination.
Following the encounter, the Allied forces conducted regular reconnaissance on New Guinea. Before long, it was learned that the Japanese planned to land another 6,900 troops in the region, a move that not only concerned Gen. Douglas MacArthur, but put the plan to build up the region at risk. This led to the development of newer, more effective bombing tactics – such as mast-height (skip) bombing – to make better use of the aircraft available.
Commencing the Battle of the Bismarck Sea
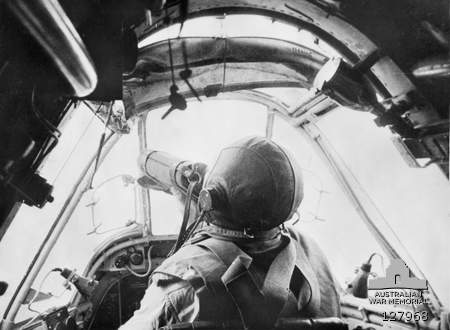
On February 28, 1943, a Japanese convoy set sail from Rabaul toward New Guinea, initially concealed by thick cloud cover that prevented Allied forces from spotting it. By March 2, the skies cleared, allowing Allied reconnaissance planes to pinpoint the fleet’s location.
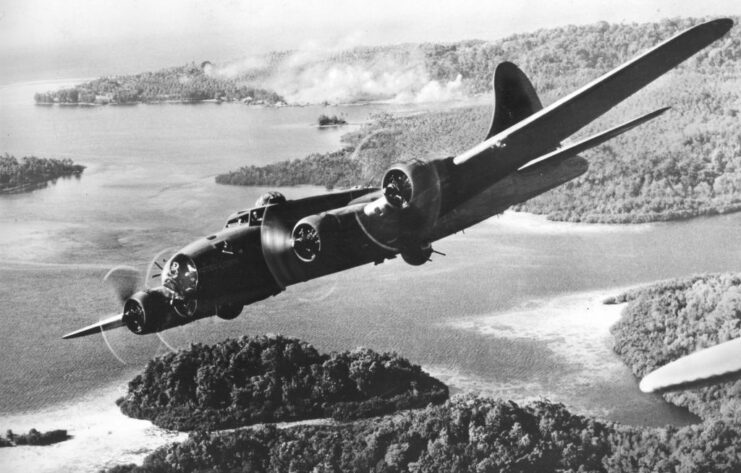
Brigadier General Ennis Whitehead responded without delay, and sent out Boeing B-17 Flying Fortresses to strike the convoy. As the day wore on, the assault escalated, reinforced by 20 more bombers and 11 additional support aircraft.
By nightfall, the convoy had moved into an exposed position well within reach of concentrated Allied air power, leaving little chance for escape. Overnight, Royal Australian Air Force PBY Catalina flying boats maintained surveillance, relaying continuous updates to ensure a precise and devastating attack at dawn.
Night gives way to daylight
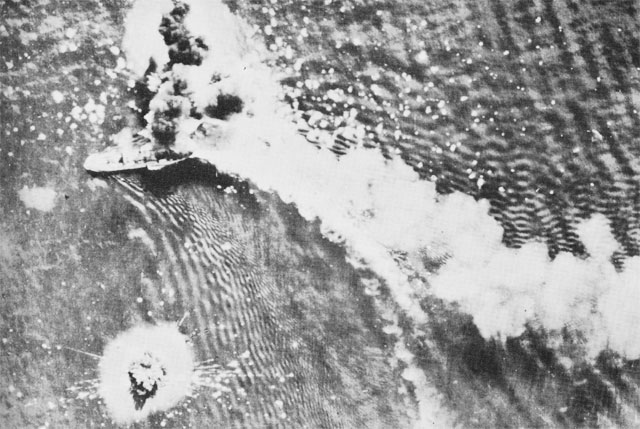
On the morning of March 3, 1943, the skies were clear—perfect weather for launching an airstrike. Around 90 Allied planes took off to hit a Japanese convoy, including B-17 Flying Fortresses, P-38 Lightnings, B-25 Mitchells, Bristol Beaufighters, and A-20 Bostons.
The Beaufighters flew in low, strafing the ships with heavy fire to knock out anti-aircraft guns and target key crew members like captains and officers. The Japanese weren’t expecting this tactic—they had prepared for torpedo runs instead. Meanwhile, B-17s bombed from medium altitudes, and the B-25s and A-20s followed up with low-level attacks.
Above the chaos, P-38 Lightnings clashed with Japanese fighters, keeping them busy while the bombers carried out their missions.
The Japanese fought back hard. A6M Zeroes took on the B-17s and managed to shoot down some Allied planes, but their resistance wasn’t strong enough to stop the attack or change the outcome of the battle.
Wiping out the entire Japanese convoy at New Guinea
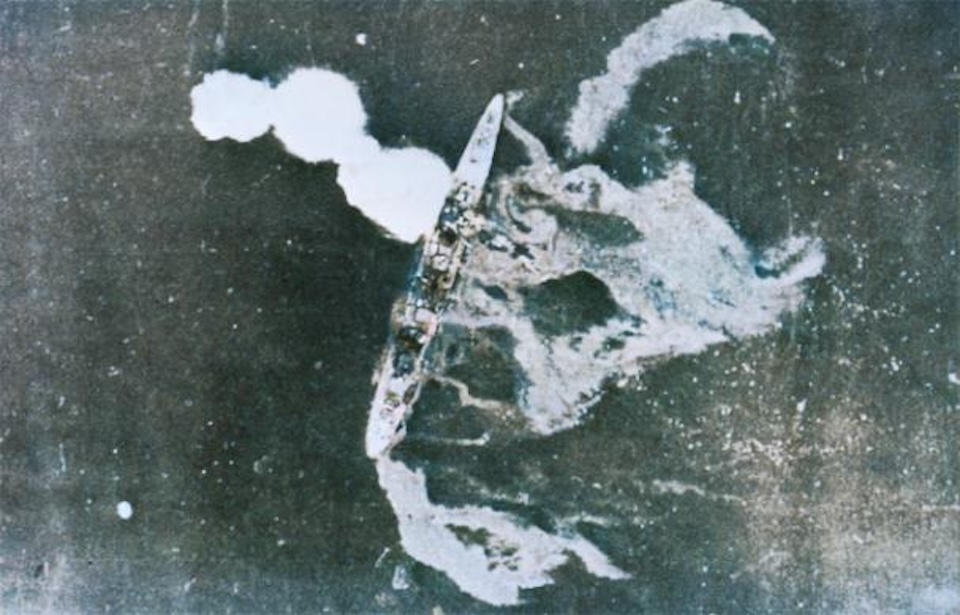
The Battle of the Bismarck Sea was a massive defeat for the Japanese. Not only were all eight transports struck by Allied attacks, so, too, were three destroyers. While the rest of the vessels picked up survivors, they weren’t out of the woods yet, as the Allies launched a renewed assault on the convoy with PT boats, sinking a fourth destroyer, the Asashio. Those adrift on rafts were also targeted over the subsequent days, out of fear they’d make their way to land and resume the fight.
Overall, the Japanese lost all eight of their transports and half of the destroyers that made up the convoy, along with over 3,000 sailors and soldiers to action or drowning. The Allies faired much better, reporting the losses of just 13 men (another eight were wounded) and six aircraft.
In the aftermath of the engagement, Japanese transit routes to Lae, New Guinea had to be changed, due to the growing Allied threat, and the country’s military issued an order that all troops learn how to swim, given the high number of losses.
More from us: Operation Market Garden Led to a Decades-Long Treasure Hunt That’s Still Ongoing
The Battle of the Bismarck Sea also served as one of the catalysts for Operation I-Go, the Japanese counteroffensive against the Allied forces on New Guinea and in the Solomon Islands. While the aim had been to disrupt Allied operations, to give Japan enough time to rebuild and plan out a better offensive strategy, the operation wound up only causing minor setbacks and delays.
