 This is the hull after blasting. It seemed a pity to remove all of the original paint and markings but I did record everything I found with photos and tracings.
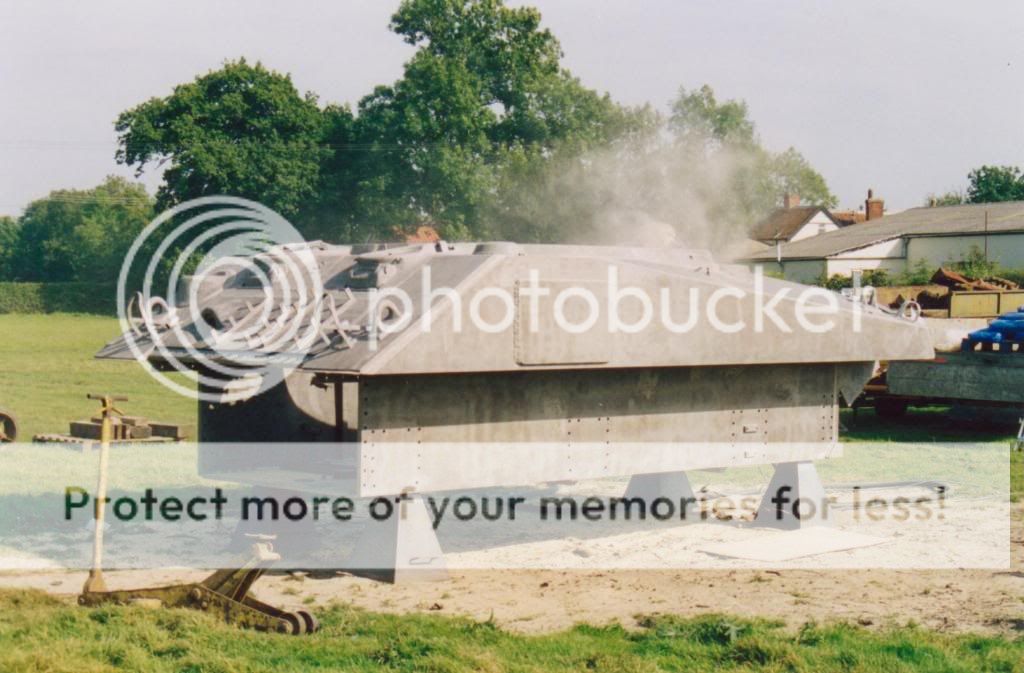
It turned into a long day as the blasters finished about 4.00 pm and I wanted to get it back inside and primed that day. So it was on with four bogies, jack it up and remove the stands, push it inside, jack it up, put it back on stands and remove the bogies.
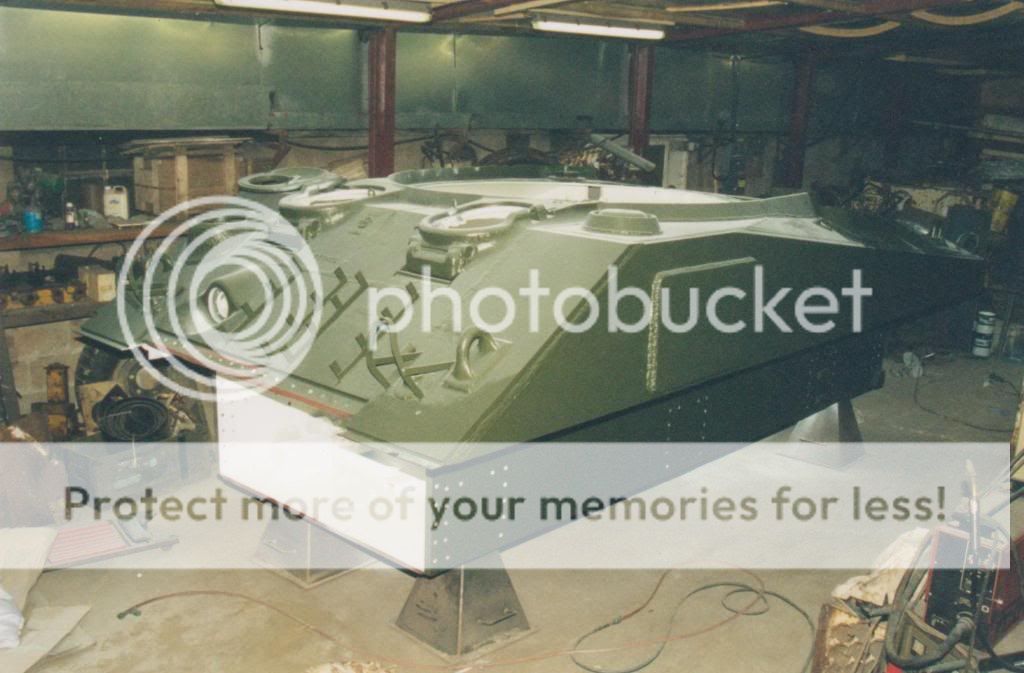
It needed a serious hoovering out and blow down before I could get the primer on, four gallons for the hull…

I fairly quickly followed this up with the green and white.

Another huge gap in my photo record is all the work on the suspension. All the bogies were stripped, some pins needing 400 tons to move! I put all new springs in and sorted out matching arms and castings. I had the four that were left on the tank and some new ones to work with so managed to get a matching set.
The wheels I had purchased from a dealer some years before having been assured that all new bearings and seals had been fitted. The wheels had been blasted and painted for another project but the customer decided he wanted spoked wheels so these ones became available. The tyres were poor but I always intended to replace them.
As it turned out, the bearings were far from new, only about half of them were usuable. Indeed one, a taper roller outer race (both taper roller and ball races were used) had been sand blasted whilst fitted in the wheel. There was od paint in the rust pits when I took it apart! Still, such are the joys of tank restoration.
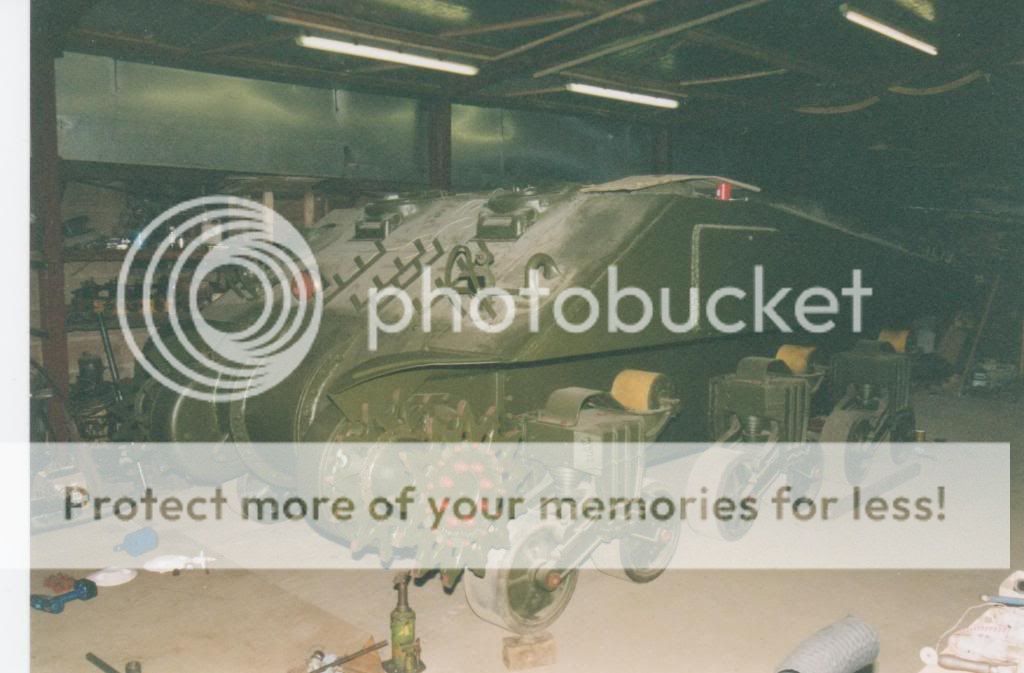
Here are the bogies fitted. The return rollers and skids were fitted later.
Now the hull was moveable and before I put the front back in, I wanted to complete the interior as much as possible.
This required the manufacture of most of it as anything less than four inches from the floor had rusted away.
I started with the engine bay, making new stainless steel fuel tanks and new cover plates. I made the left tank as original with the full 58 gallon capacity but the right tank is only 25 gallon. The problem with long fuel tanks is the surface area of the fuel allows a large evaporation and with fuel going off so quickly, a small tank makes better sense. Both tanks are usable and I run off whichever is most appropriate.
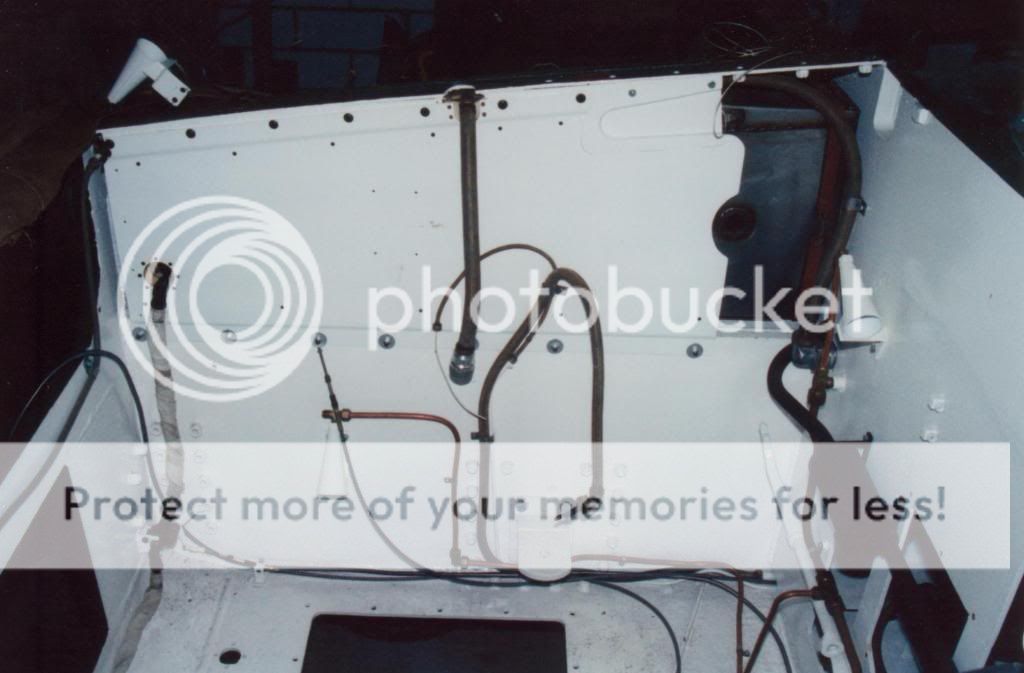
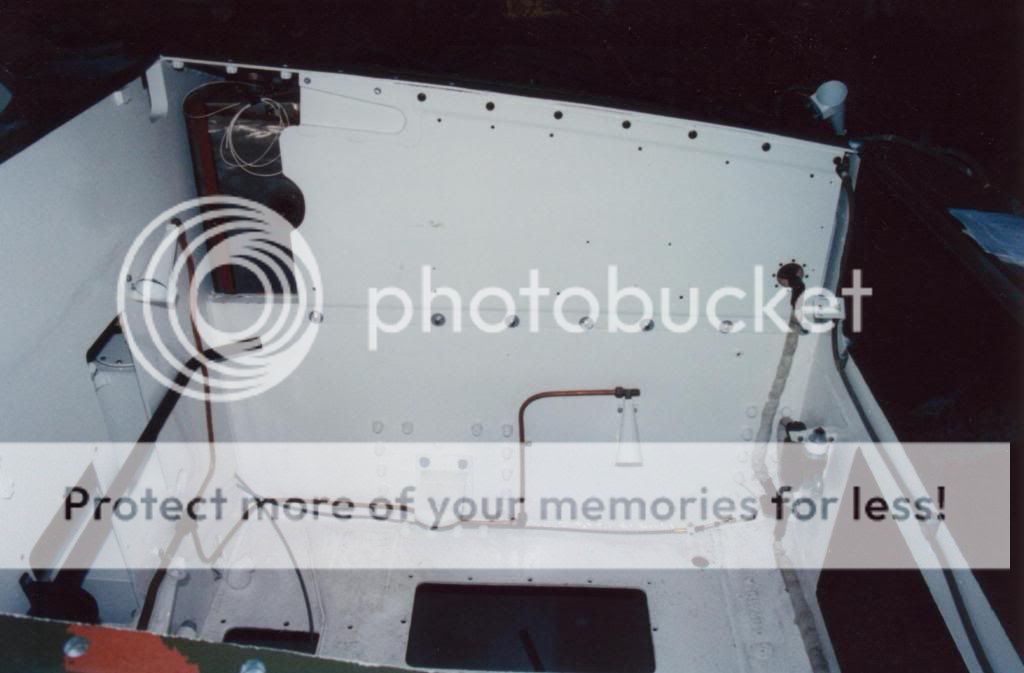
The wiring is all new as are all the fuel pipes.
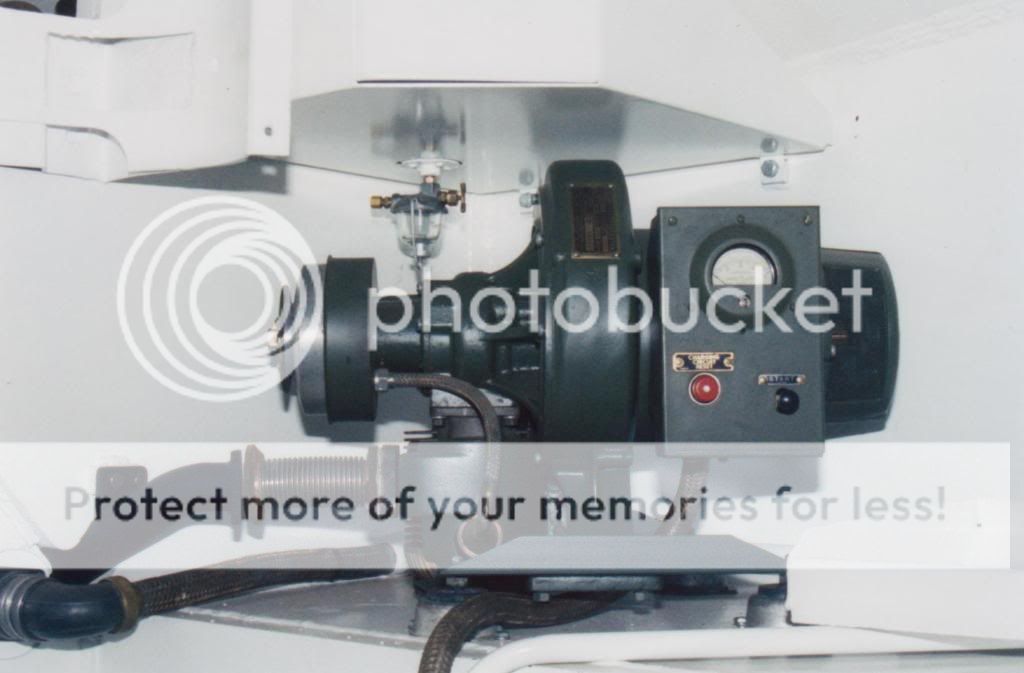
This view looking forward shows the clutch fork and above it the muffler for the Homelite Auxiliary generator. The exhaust passes through a small pipe set into the radiator and out of the back of the tank.
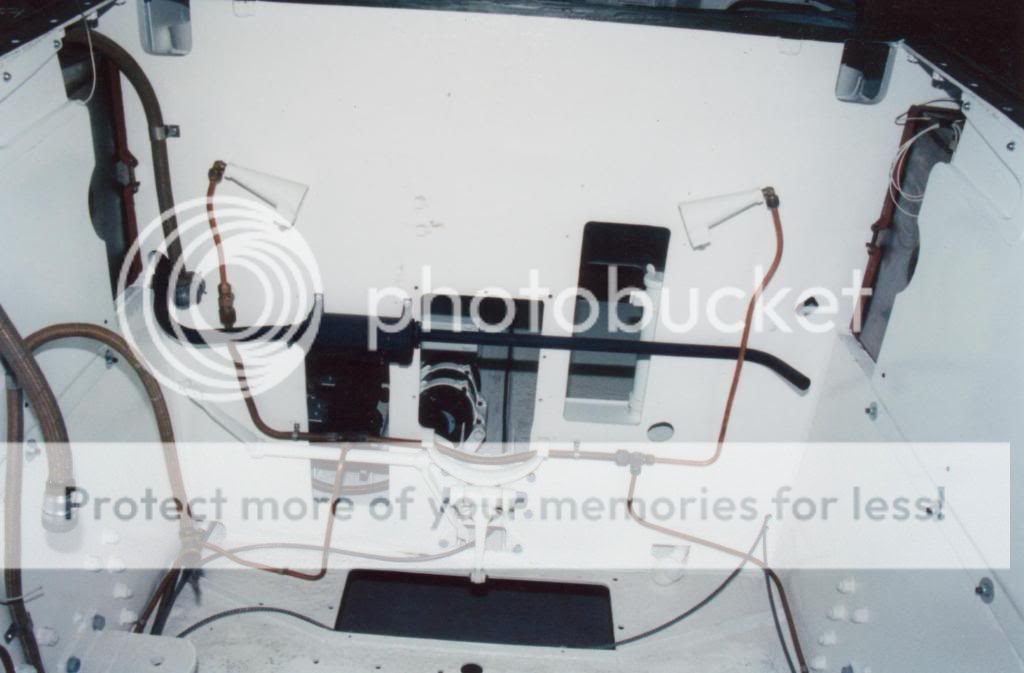
This view looking back shows the fuel filter. It is a bigger version of the one fitted to Dodges. Hardly a surprise as they were both Chrysler products.
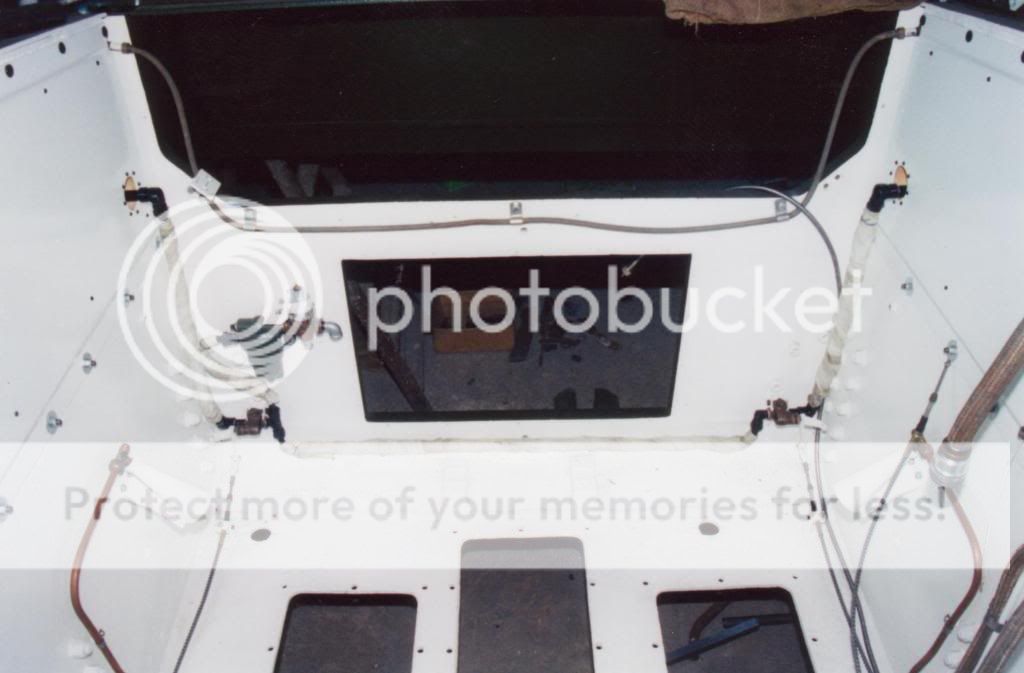
This is the drivers area and shows some of the wiring to the instrument panel. I managed to save all of the Cannon plugsand flexible conduits, just renewed all of the conductors.
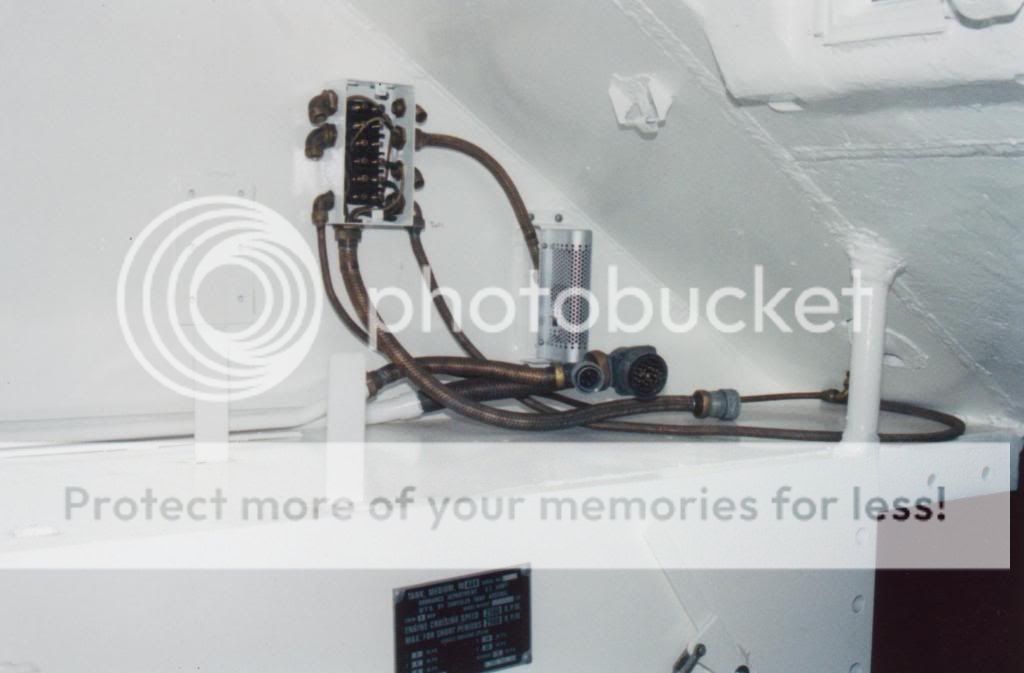
This is the rear left hand corner of the fighting compartment and is where the generator and regulators live. The other regulator is for the aux gen.
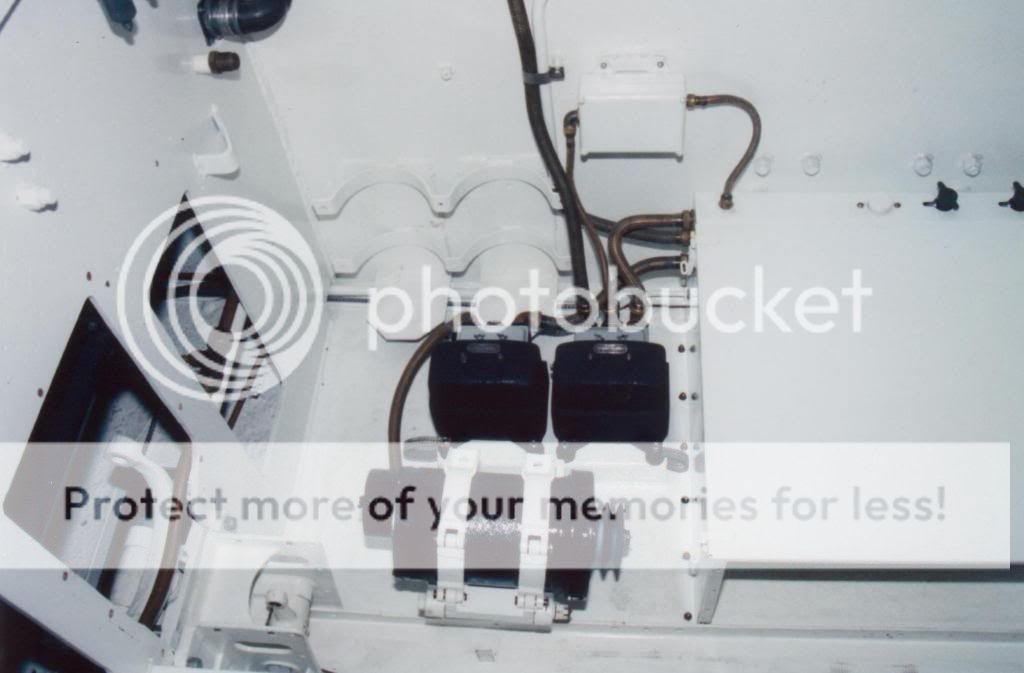
This is a two stroke unit with it’s own fuel tank above.