The Gallipoli Campaign is remembered mostly for the disastrous failure of the infantry landings. Huge numbers of British and colonial troops were lost in a failed attempt to gain a foothold in Turkey.
That disaster was preceded by another example of military futility – the naval attack at Gallipoli.
Planning to Take a City with a Navy
When Turkey entered the First World War in November 1914, it was a setback for the Allies. The British had hoped to keep the Turks from siding with the Germans. Their diplomacy had failed.
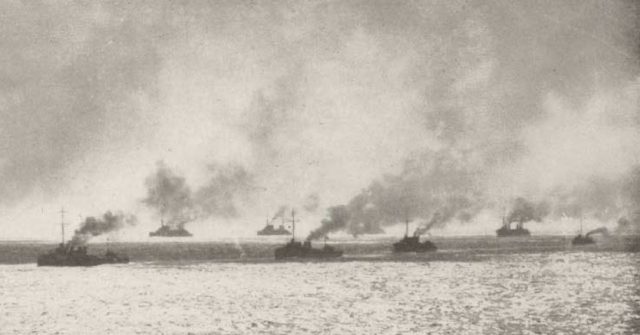
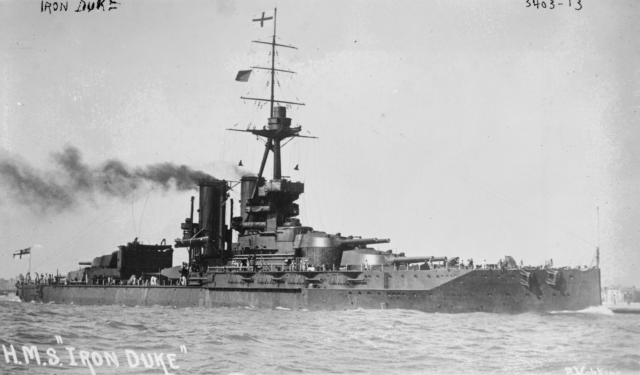
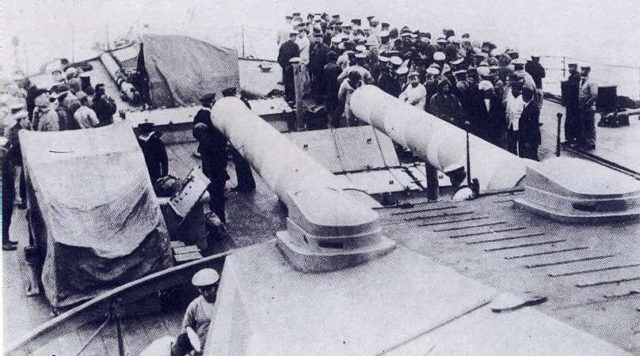
With the Western Front becoming increasingly intense and bloody, soldiers could not be spared for an undertaking against Turkey. Instead, an alternative plan was developed; to send a naval expedition. Acting as floating gun platforms, aging ships would enter the Dardanelles and bombard the Turkish shore forts there. In this way, a naval expedition could take the Gallipoli Peninsula before moving on to seize Constantinople.
It was an ambitious plan for what politicians regarded as a backwater of the war.

Three Sorts of Unimpressive
Small bombardments started on November 3, 1914. By February 19, enough British and French ships had arrived for Vice-Admiral Sackville Carden to begin the attack in earnest.
Carden’s plan was for three stages of bombardment – first at long range, then at medium range, finally closing for close-range fire once the Turkish forts had been suitably softened up.
The first attack began at 0951, striking the Gallipoli Peninsula and the Asian Turkish mainland, the two coasts flanking the narrow waters of the Dardanelles. The second stage began at 1400 and the third at 1700. By then, the light was starting to fade, and at close quarters the Turks were able to fire back. The attack was abandoned for the day and storms prevented another being launched until February 25.
Mine Sweeping
Meanwhile, attempts were made to remove Turkish mines from the sea. It too went poorly.
The minesweeping trawlers were manned by civilian recruits who were unhappy with being shot at. They worked at night but were still unable to avoid Turkish fire as searchlights probed the waters all around. Many mines were not located, and the ships fled at the first sign of trouble.
Already exhausted, on March 15, Carden stepped down and was replaced by Vice Admiral John de Robeck.

Bring in the Heavy Guns
The mines needed to be cleared. To do this, de Robeck ordered an attack on March 18 to clear out the shore batteries and make life safe for the minesweepers.
At first, this attack was a success. Starting at 1030, two lines of ships pounded the shore guns and forts around the narrows. By 1345, they had been mostly subdued.
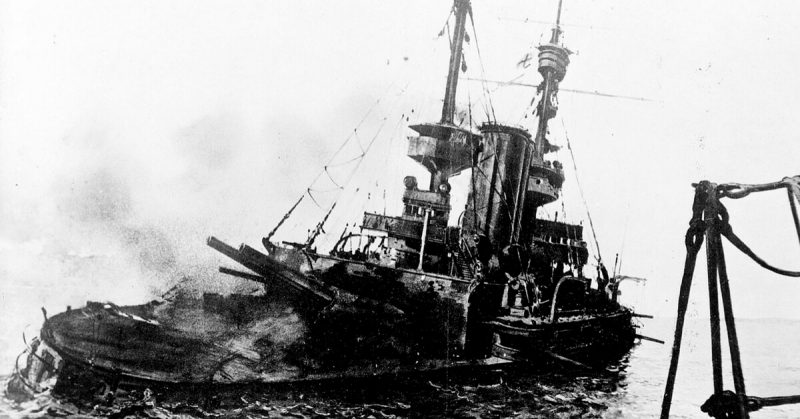
Now came the time to withdraw. First to leave were the French. As they headed for the mouth of the Dardanelles, their battleship Bouvet hit a mine close to the Asian shore. It was wracked by a massive explosion, sinking almost immediately.
The British brought their minesweepers forward, but the crews once again fled as the Turks opened fire. Now British battleships fell foul of the mines, with the Inflexible and the Irresistible both being struck.
The Ocean Gets Lost at Sea
Not wanting to lose so much firepower, de Robeck sent the destroyer Wear and the battleships Ocean and Swiftsure to retrieve the stricken Irresistible. Ordered to take the damaged ship in tow, the Ocean found the surrounding water was too shallow, and she could not rescue the other ship.
The Ocean and Swiftsure sailed up and down firing at the coast, as the ships had been doing throughout the day. They seemed to be having little effect, so were ordered to withdraw.
The Ocean now became the fourth casualty, hitting a mine and taking a shell in the steering gear. She too had to be abandoned.

Rushing to Adapt
Back in London, the Minister of War was rushing to adapt the plans for the Dardanelles. A report on March 5 from Lieutenant-General Sir William Birdwood indicated the Navy could not achieve its objectives alone. The Army needed to step in.
On March 12, the Minister called upon General Sir Ian Hamilton to command the force. Hamilton asked to be provided with modern aircraft and the experienced crews to operate them, but his request was dismissed; such valuable resources were required on the Western Front. Instead, the Navy would continue their bombardment until the army were ready. The army would then invade the Gallipoli Peninsula, not the Asian shore.
At 1700 on March 13, Hamilton left London. The new expedition had been put together in less than two days, with rushed planning.
No Longer a Navy Project
On March 22, Hamilton and de Robeck met on the island of Lemnos, where forces were gathering for the Gallipoli mission. Accounts of what exactly was said varied, as the Navy were trying to save face while the Army sought to assert control.
The outcome was the same regardless. Attempts by the Navy alone to take the Dardanelles were at an end. The Navy was held back for a month while the army prepared to attack.
It was an embarrassing moment for de Robeck and his colleagues.
The High Cost of Almost Nothing
The delay in attacking cost the Allies what little they had gained. Given time to recover, the Turks invited a German field marshal to take control of their forces. Troops were moved in and defenses repaired.
The Naval action at Gallipoli was a costly waste. Four battleships were lost. Although casualties were light in most of the action, with only 70 British servicemen killed, 640 French sailors went down with the Bouvet.
The bombardment had brought the Allies nowhere near Constantinople. As the failure of the follow-up campaign showed, it had also done next to nothing to prepare the ground.
Source:
Martin Marix Evans (2002), Over the Top: Great Battles of the First World War.
