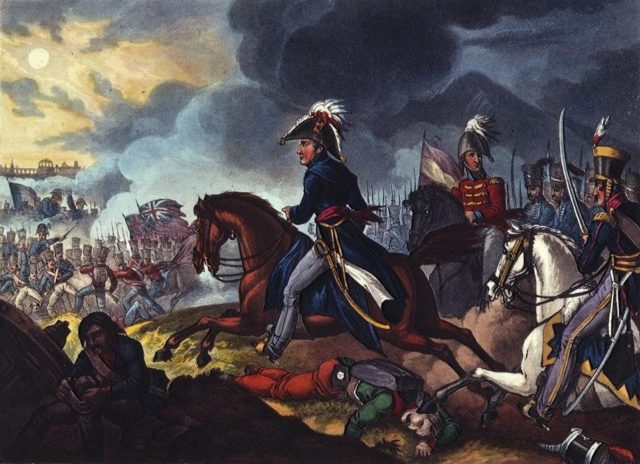
Fought on July 22, 1812, the Battle of Salamanca was a great success for the then Earl and later Duke of Wellington. Leading the British and their allies against French forces under Marshal Marmont, Wellington seized an opportunity created by his opponent’s misjudgment. It was a battle that highlighted Wellington’s skills as a general.
Maneuvers on the Plains
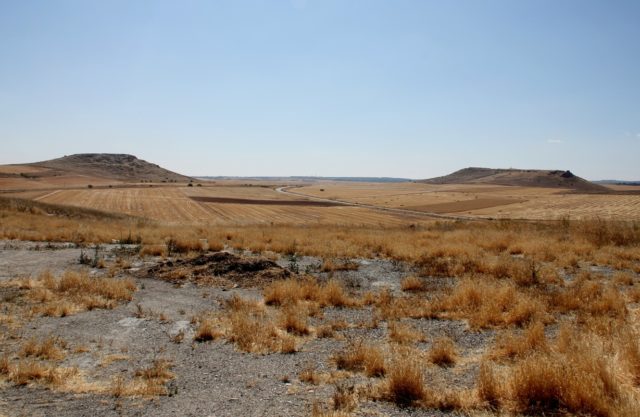
The city of Salamanca lies in western Spain, on the main route from northern Portugal into Spain. In the summer of 1812, Wellington was leading a force of British, Portuguese and Spanish troops intent on attacking French-occupied Spain. Marmont was trying to contain Wellington and prevent him from moving into the Spanish interior.
The result was three weeks of relentless maneuvering. Two gifted generals marched armies 50,000 strong across the Spanish countryside, trying to gain an advantage. Early starts, late nights, and days on horseback left Wellington exhausted. “I was never so fagged,” he said, drifting into the parlance of the upper-class British schoolboy. His struggle to stay awake was interspersed with naps under a newspaper or being chased by French cavalry during an unlucky scouting mission.
Wellington Spots his Moment
Towards the end of July, Wellington was almost ready to give up. Sitting on a ridgeline southeast of Salamanca, he watched Marmont assemble his troops on a hill to the south. Once again, the French general had matched him and prevented a breakthrough.

Marmont, meanwhile, watched Wellington’s lines with justified trepidation. Full frontal attacks against entrenched British positions had led to disaster for his colleagues. He wanted to attack Wellington but did not want to repeat that mistake.
Marmont returned to using maneuvers. He mustered his army and began marching west, aiming to get around the British right flank and cut them off from their base in Portugal.
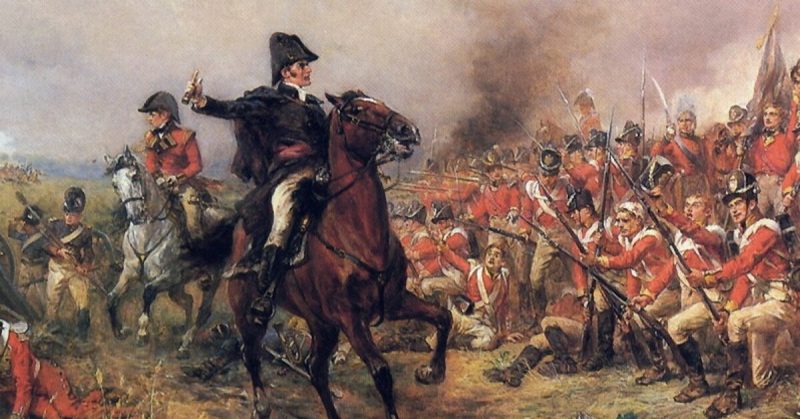
Eating lunch in a farmyard, Wellington watched the French through his telescope. Seeing their lines over-extended and vulnerable, he flung away the chicken leg he had been eating. “By God, that will do!” he exclaimed.
His moment had come.
Pakenham Attacks
On the British right, the battle was almost won within half an hour.
At 3 pm, on Wellington’s orders, his brother-in-law, Major-General Pakenham, led a swift assault against the French left. Marmont had been counting on Wellington’s tendency to fight defensively. He was completely unprepared for the arrival of Pakenham.

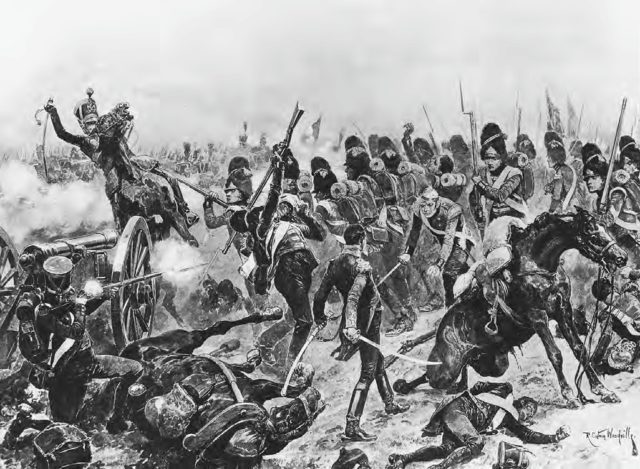
The French flank formations were smashed. Seeing cavalry galloping toward them, the next in line rushed to form defensive squares. They were still halfway through the maneuver when they were caught between Pakenham’s force and other British units advancing to his left.
One side of the French army was in collapse. In only an hour, the Allies captured 2,500 prisoners and 12 artillery pieces.
Reversal on the Left
It was going very differently on the other flank. Attacking uphill, the Allies had a tougher fight. The French held firm and drove them back. By 5.30pm, the French were counter-attacking.
Marmont, whose maneuvers had triggered the battle, was already out of action. Early in the fighting, an exploding shell had caught him in the right arm, severely wounding him. General Clausel, taking over from him, sought to seize the opportunity created by the faltering British attack.
On Clausel’s orders, two new French divisions advanced on the vulnerable looking British center.
The battle hung in the balance.
Wellington Takes Control
Wellington was well prepared. Always gifted in the use of terrain, he had made the most of holding the ridgeline. He had kept reserves, including his Portuguese brigade, carefully hidden behind the ridge. He now ordered them forward, reinforcing the center so it could hold against the surprised French.
Having ordered that attack, he galloped to the weakened left flank. There, the French were still advancing.
Wellington raced past his infantry to the cannon. He ordered them to move, so they were at right angles to the advancing French. Then they opened fire, causing carnage through the French formations and killing the commanding officer.
During the fighting, Wellington was grazed on the thigh by a bullet that passed through his holster. He paused just long enough to check for damage before continuing to give orders. Even after a close brush with death, he was unflappable.

Flight and Pursuit
The French left had been smashed. The right, despite its early successes, had faltered in the face of Wellington’s guns. Loss of officers had depleted French morale and leadership.
At last, it became too much. The French assault in the center was halted, and the Allies went on the attack.
The French lines crumbled. With night falling, the entire army descended into a chaotic retreat. Only the approach of darkness prevented the British from immediately pursuing them and causing even greater casualties.
The following morning, German auxiliaries fighting for the Allies smashed French infantry at the village of Garcia Hernandez. Wellington did not press the pursuit. Marmont had demonstrated the dangers of over-extending; his opponent would not do the same.
A Battle to Remember
Salamanca was a critical battle in the fighting for the Iberian Peninsula. Through patience, swift improvisation, and calm under fire, Wellington had routed an entire army in a few hours. In doing so, he had gained freedom of maneuver.
3,176 British, 2,038 Portuguese, and 6 Spanish soldiers were killed. French casualties were much higher, amounting to around 14,000 men. Marmont recovered from his wounds but never returned to the Peninsula War.
The morale of those fighting the French was boosted. They went on from strength to strength, under the proven leadership of Wellington.
Sources:
Robert Harvey (2006), The War of Wars: The Epic Struggle Between Britain and France: 1789-1815
Philip Haythornthwaite (2004), The Peninsular War: The Complete Companion to the Iberian Campaigns 1807-14
John Keegan (1987), The Mask of Command
