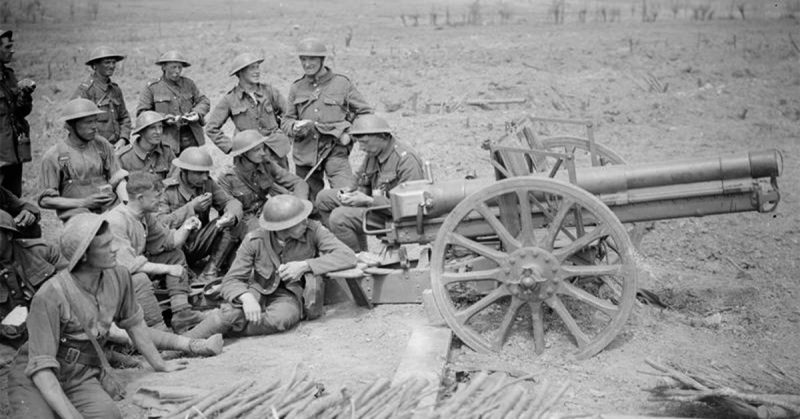
On June 7, 1917, Australian and New Zealand Forces (ANZAC) combined to form an attack on a German defensive position near the Belgium town of Messines.
This was the first time ANZAC forces had engaged in battle together since the disastrous events 12 months before at the Gallipoli Peninsula in Turkey. (That event was a failure and, eventually, all Allied servicemen were evacuated.)
Many of the fit and healthy Australian—and New Zealand—troops were veterans of the Gallipoli campaign, and had been sent to the European war front rather than return home.
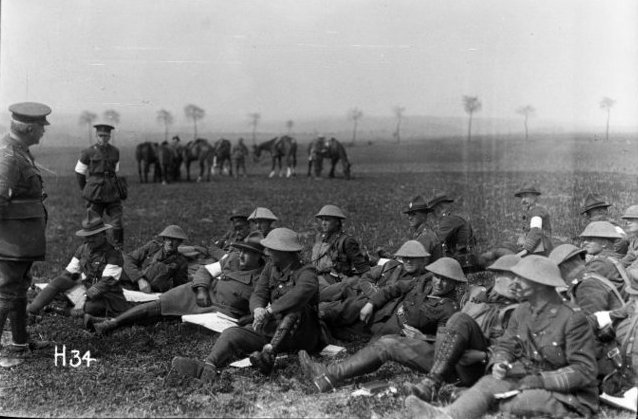
The objective
Under the direction of Major-General John Monash (who, after the war, went on to become a distinguished Australian in many fields and even had a university named after him), the Australian 3rd Division was successful in the attack at Messines. Monash was ably assisted by another Major-General, William Holmes.
The objective was to force the Germans from the ridges around Messines and then enable British forces, including Ulster and Irish divisions, to continue with the Battles of the Somme.
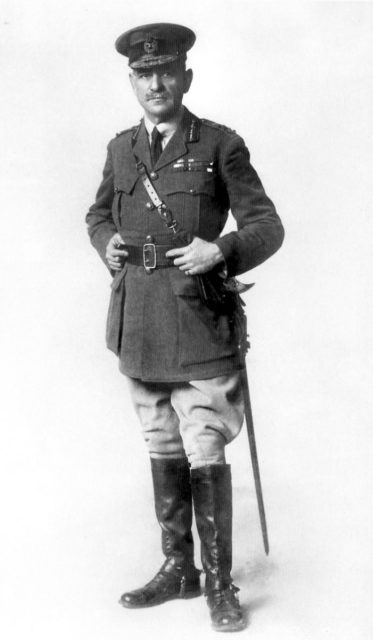
The plan to attack the village of Messines and the surrounding area was included in the overall plan by General Herbert Plumer, who commanded the British Second Army. Not only were Australian and New Zealand forces to be employed, but Ulster and Irish divisions as previously mentioned.
General Plumer’s grand objective was to attack and take all the villages surrounding the Wyschaete-Messines Ridge.
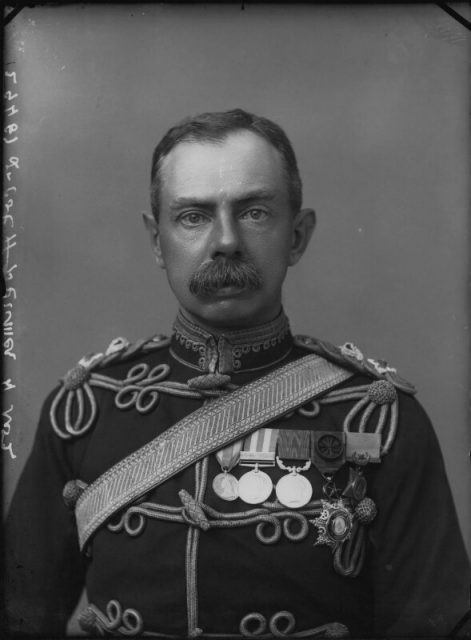
Important lead-up
Prior to the attack on Messines and the surrounding ridges, British troops had, for some time, been tunneling under the ridges that the German forces were occupying. The British engineers then placed 19 huge mines containing one million pounds (approximately 450,000 kilos) of the explosive ammonal. It was subsequently detonated with devastating effect.
Thousands of German troops simply disappeared, making the assault on the ridges by the Australian and New Zealanders a possible victory. As one official historian wrote: “Nothing could have withstood such an onslaught; and nothing did.”
The Battle itself
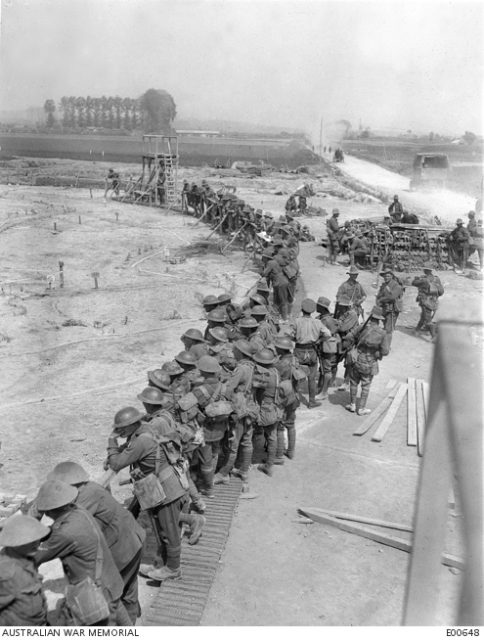
After the massive explosion of the 19 mines, the Australians and New Zealanders climbed up what was left of the German defenses and, after some problems, occupied the top ridges.
Everything appeared to be going to plan when the Germans released gas on the Australian troops. Gas was used in the First World War, and many soldiers succumbed to it. After WWI, the use of gas was forbidden in warfare. It was covered by the Geneva Protocol of 1925 which was ratified by the League of Nations in 1929.

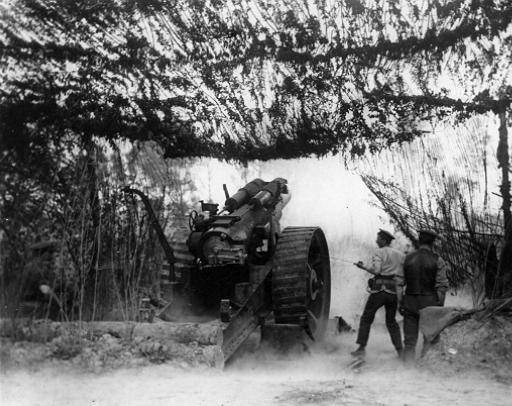
With the 3rd Australian Division suffering from gas and artillery shelling, it was expected that their objective of reaching the ridges would not happen — but succeed they did. Once on top of the ridges, they were then joined by the Australian 4th Division. However, although both Australian Divisions were on top of the ridges, they were badly exposed.
Although some Australian and New Zealand forces were obliged to retreat to their starting point, many men remained where they were. Eventually, they were joined by British forces on or about June 11, 1917. However, their defense came at a heavy price given the number of casualties that occurred.
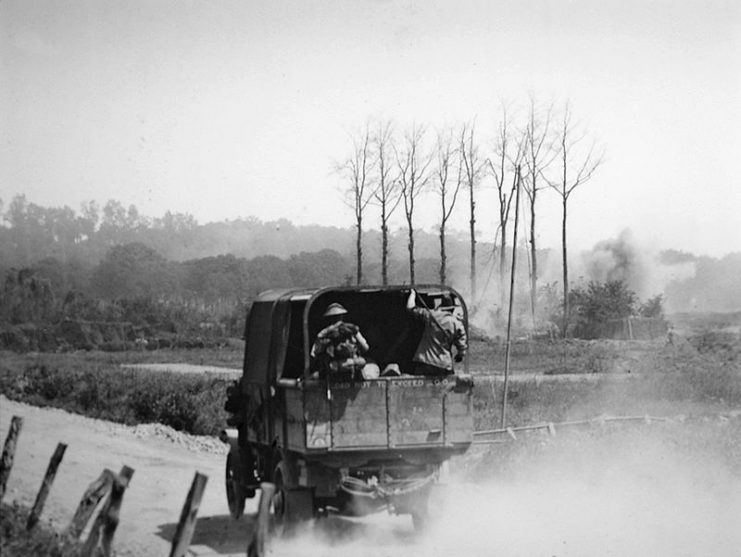
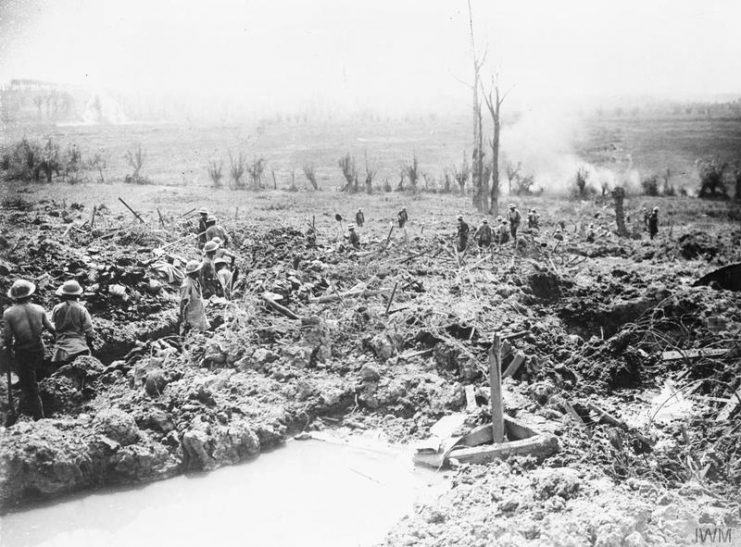
By the evening of June 14, 1917, all objectives had been achieved. The British, Australian, and New Zealand troops held the ridges and town of Messines, which by then was a total ruin. The Battle of Messines was officially over on June 14, 1917.
Given the number of casualties (including those who were gass or went missing), the Battle of Messines is still seen as a great Allied success in the World War I European theatre. This may be because, regardless of human losses, the objective of the attack was successful.
Casualties of the Battle of Messines: Australia and New Zealand only
Even though the Battle of the Messines is regarded as officially beginning on June 7, 1917, and ceasing on June 14, 1917, there was still “action” involving Australian and New Zealand troops just prior to these dates. Consequently, the official casualty totals for Australia and New Zealand is recorded as being from June 1-14 inclusive.
Read another story from us: ANZACS: The Australians & New Zealanders at Gallipoli, 1915
The Australian Official Historian 1941 records the following casualties for II Anzac Corp (bearing in mind casualties include those gassed, taken prisoner, and missing as well as fatalities and injuries): 3,379 for the 3rd Australian Division, 2,677 for the 4th Australian Division, and 4,978 casualties in the New Zealand Division.
It can be seen from these statistics that, proportionately, Australia suffered more casualties than New Zealand.
