Briefly put, the Battle of Broodseinde Ridge was one of many operations in the broader Ypres offensives. There were five Ypres offensives during World War I: in 1914, 1915, 1917, and two in 1918.
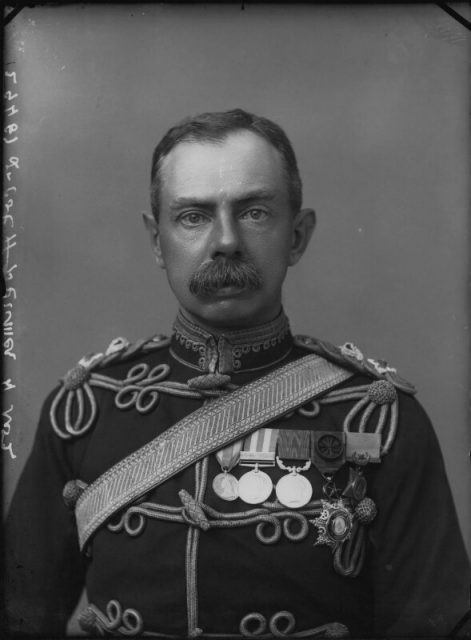
The commanding officer of the British Second Army was General Herbert Plumer, who at the age of 60 years had seen action in the Second Anglo-Boer War of 1899-1902. He would be involved in all five of the Battles of Ypres in some capacity. After World War I, he eventually went on to obtain the highest British military rank—Field Marshal. The bellow shows Plumer in 1900 at age 43 and the rank of full-colonial.
During the 1917 Ypres offensive, General Plumer meticulously planned an attack on the Germans for the morning of October 4th, 1917. The Germans were dug in on Broodseinde Ridge and its surrounds, and directly behind them was a huge battery of artillery—which the Australians were to feel the full force of before they attacked.
This attack on the Germans on Broodseinde Ridge and its surrounds was a large scale event involving 12 divisions of Commonwealth forces. A division was normally comprised of about 10,000 men, so the attacking force was in the vicinity of 120,000 men.
https://youtu.be/EKgHtYBr7lE
Included in these 12 divisions were three from Australia and one from New Zealand. Each division was assigned an objective by General Plumer, and they are described below.
The 1st Australian Division was to advance nearly a mile, the 2nd Australian Division about 100 yards further than that, and the 3rd Australian Division another 150 yards beyond the 2nd Division. This was to be achieved in two or three stages.
These three Australian divisions had frontages of around 1,000 yards each—quite compact. Any enemy artillery or machine gun fire on them would be very costly—which it was.
Meanwhile the New Zealanders had an objective of about only half a mile, but they had a frontage of one and a quarter miles. General Plumer had done his logistical homework well, but he overlooked the devastating effect the German artillery would have on the concentrated Australian troops.
Before dawn on October 4th, 1917, German concentrated artillery fire was directed on the Australian 1st and 2nd Divisions as they prepared to attack Broodseinde Ridge. The result was devastating. Almost 20% of the Australians waiting for orders to push forward became casualties.
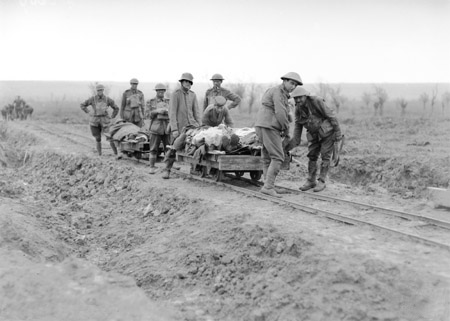
When their orders did come to advance, they were met by German troops who coincidently were also ordered to push forward around the same time. At about 6:00 AM, in the middle of no man’s land, the 1st and 2nd Australian Divisions came face-to-face with a German infantry regiment which was closely followed by a German reserve division and the 4th Guard Division.
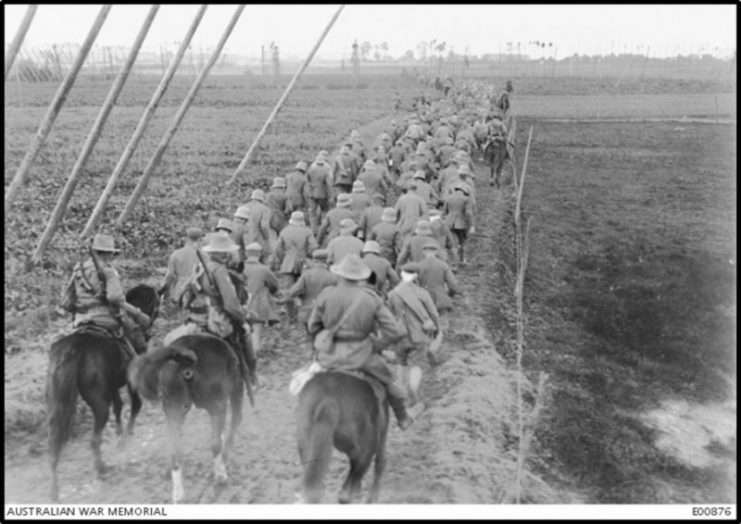
The initial clash of the combatants was quite severe. However, the Australians eventually overcame their opponents and as a result, many German troops were taken prisoner. The photo below, taken on or about the 5th of October, shows German POWs being escorted by Australian mounted guards to a holding camp.
After defeating or capturing the attacking German forces the Australian 1st Division advanced toward Flandern I Stellung—a German defensive position in the greater Ypres battlefield. This was to be the Australian forces’ first objective. The second objective was to be an area about 330 yards north of Flandern I Stellung, known as Flandern II Stellung.
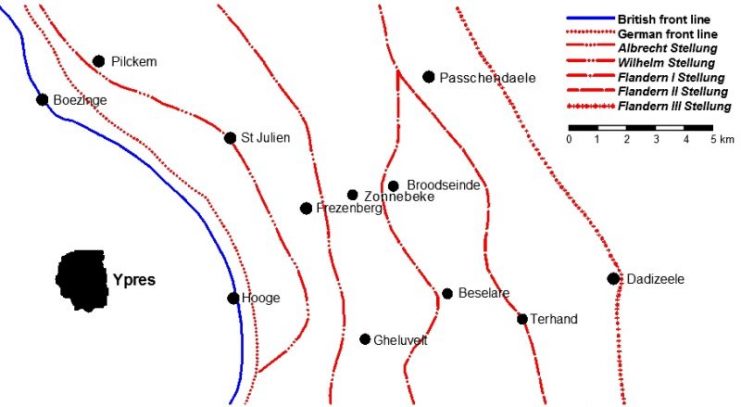
Eventually the Australians did take Flandern I Stellung, at about 7:15 on the same morning. However, it came at a price in the way of casualties from German field guns.
Despite growing casualties the Australian 1st Division also reached their second objective—Flandern II Stellung. It was secured despite two defensive attempts from German infantry, first at 1:00 and then again at 2:30 PM.
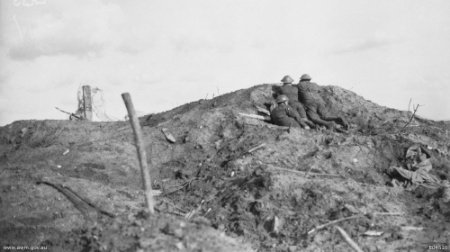
Meanwhile the 2nd Australian Division was also advancing, despite long-distance shelling from German artillery. The final objective of the 2nd Australian Division was the small village of Broodseinde on the Broodseinde Ridge. Once the 2nd Australian Division achieved their objective they set up a temporary trench “headquarters.”
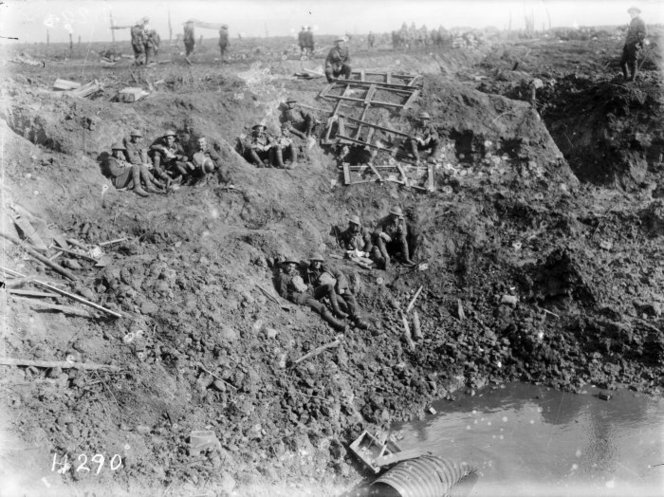
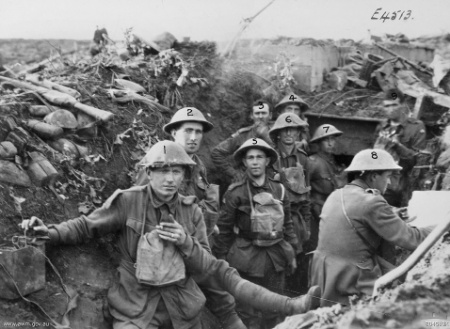
The below photo, taken on the morning of October 5th, shows Australian troops posing for the photograph. There are two points of interest in this photo.
First, their weapons were not being carried, but rather were on the top of the trench. This indicates they were not in danger of imminent attack. The second point of interest is the apparent youthful appearance of the small soldier in the center of the photo.
In contrast to what the Australian 1st and 2nd Divisions had endured, the 3rd Australian Division and the New Zealand division of the 1&11 Anzac Corps fared a little better. Their objective was to capture Hill 40 on the north side of the Ypres-Roulers railway. The Australians and New Zealanders were to attack Hill 40 from opposite sides.
They had originally planned to advance under cover of darkness before dawn on the 4th of October. However, word must have reached the Germans because they unleashed a barrage of flares. The attack was then delayed until 6:00 AM. It was very successful and German pillboxes on top of Hill 40 were overrun, with many prisoners taken.
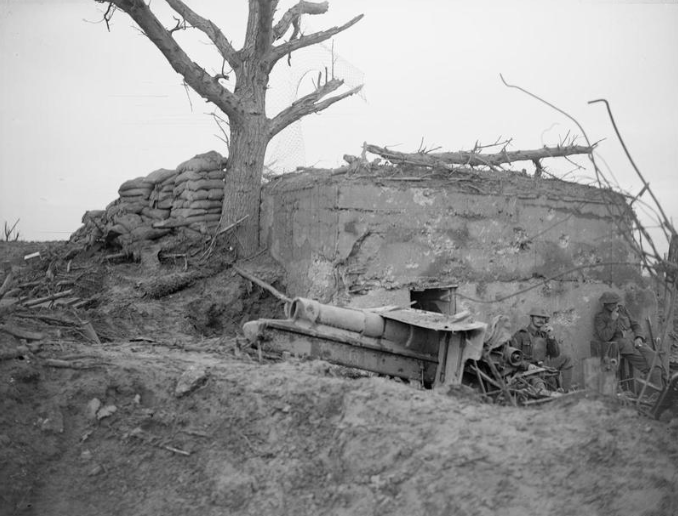
This was accomplished in spite of the fact that the Australians had reached Hill 40 some 30 minutes before their New Zealander counterparts. The New Zealanders had had to contend with boggy ground during their ascent of the hill. By 7:20 AM, Hill 40 was in the hands of British Commonwealth forces.
Read another story from us: ANZACS: The Australians & New Zealanders at Gallipoli, 1915
Exact figures of Australian and New Zealander casualties at the Battle of Broodseinde Ridge are hard to obtain because it was part of the broader third Battle of Ypres. However, the Commonwealth War Graves Commission lists over 20,000 British and Commonwealth casualties and POWs. More than 3,400 of these have no known graves.
