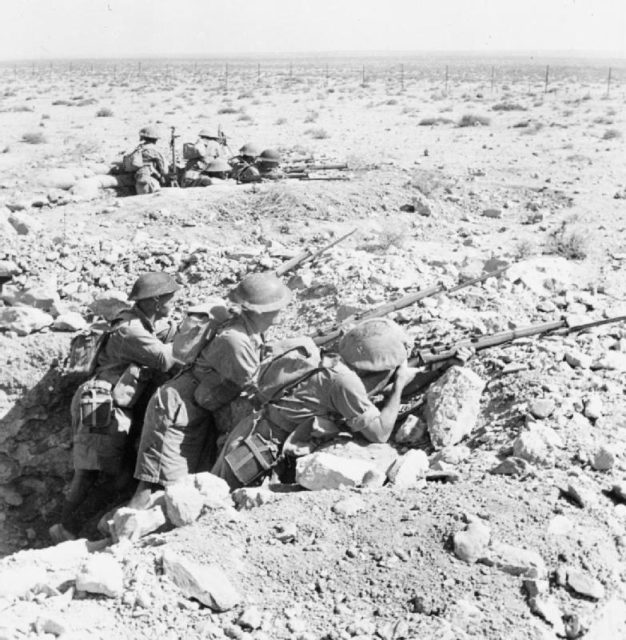
The first victory against the German army in World War Two did not come in Western Europe or amid the ruins of the eastern front. It took place at the small port of Tobruk in North Africa, at the hands of 9th Australian Division.
Taking Tobruk
The war in North Africa began in September 1940, when Italian forces advanced into Egypt, over-running British bases. The British counter-attack drove the Italians back 500 miles across the border and forced them to surrender on the 7th of February. Along the way, they took a small port in northeast Libya on the 21st of January, 1941. This town would become the site of decisive action over the year that followed. Its name was Tobruk.
The British Withdrawal
With their supply lines stretched thin and forces being diverted to Greece, the British Western Desert Force stopped its advance before reaching Tripoli. Meanwhile, Hitler saw a need to prop up his Italian allies. And so, on the day before the Italian surrender, Rommel and the Afrika Korps were sent to Tripoli.
On 24 March, Rommel launched his attack at El Agheila. The British were pushed back again, most of them retreating to Egypt. But Tobruk’s defences were largely intact and as a port, it could prove invaluable in retaining power in the region. So the 9th Australian Division, supported by a brigade of the 7th, the Sikh 18th Cavalry Regiment, and both Australian and British artillery, remained behind to hold the town.
Rommel Attacks Tobruk

On the 10th of April, the Germans reached Tobruk. Initial attempts to storm the town were driven back, Jack Edmondson earning a posthumous Victoria Cross for his bravery in the fighting. As much of the Afrika Korps rolled past towards Egypt, Tobruk’s defenders found themselves surrounded.
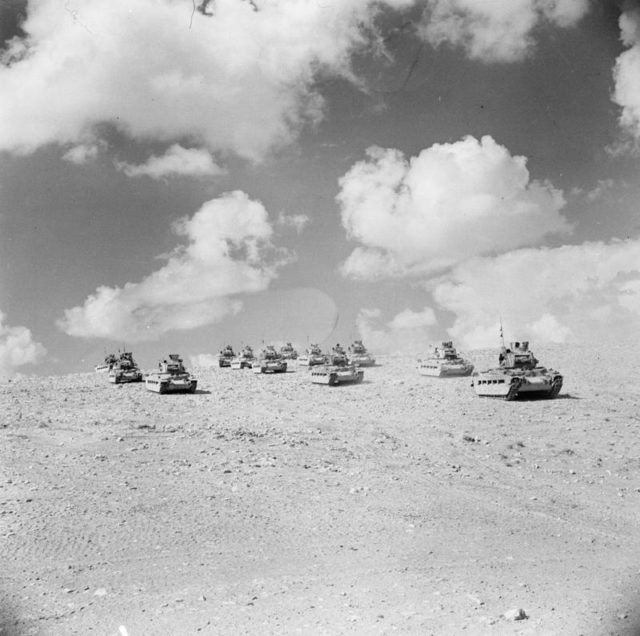
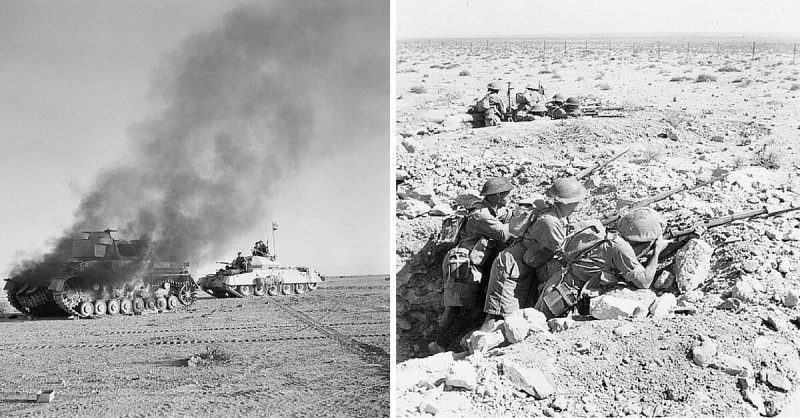
On the 14th of April, the first Panzer attack came. Penetrating the first line of defences, the tanks were stopped three miles later by point-blank fire from 25-pounder guns.
Rommel knew that the best course of action would be an all-out assault, but he lacked the resources for this. Instead, strategic assaults on the 30th of April and the 1st of May created a bridgehead inside the outer defences. Accurate artillery combined with fierce resistance by the Australian infantry limited the defenders’ losses and took much of the momentum out of the attack.

Stalled Attack
Late on the 1st of May, the Australians launched a counter-attack. Though unable to retake the vital Hill 209 thanks to a lack of machine guns, they were still able to push the Germans onto the defensive and stop them getting around an important minefield.
A sandstorm swept across Tobruk on the 2nd of May, halting the German advance again. While Rommel’s troops battened down the hatches, the Allies laid new minefields, brought up fresh troops, and continued an artillery bombardment against the attackers.
The morale of the previously unstoppable Panzers wavered, even as they sat across a large breach in the enemy’s defences.
Defied and Defeated
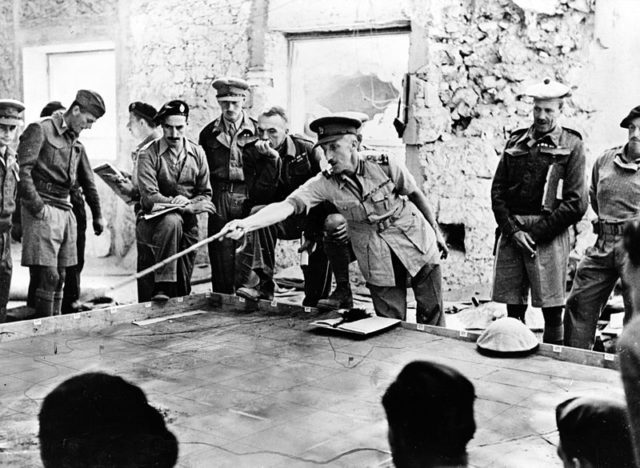
Major-General Morshead, the commander of the 9th Australian Division, was determined to repair that breach, and so gathered troops for a counter-attack. Thanks to their possession of Hill 209, the Germans saw this force gathering and were ready.
Fierce night fighting pushed the Germans back half a mile and let the Australians retake a defensive post. The Germans lost twice as many men as the Australians.
Every loss was critical for the Allies inside Tobruk. Unlike the Germans, they could only gain fresh troops and supplies by sea. Yet, as the two great powers stared each other down in the desert, it was the Germans who blinked. High Command, disturbed by their losses, ordered Rommel not to launch another attack.
For the first time, the Allies had proved that the German blitzkrieg could be stopped, and the psychological boost was enormous. As Morshead said, these actions were “the first in which armoured formations of the German Army have been defied and defeated.”

Consolidating Positions
The Germans launched further attacks during May, making small gains. Morshead, despite his more limited resources, dominated no man’s land through a strategy of aggressive night-time patrolling which shook German morale and kept the Australians from feeling like the victims of the fight.
By June, both sides were consolidating their positions for an extended siege. The Germans drew back to better defensive positions, while the Australians advanced enough to reduce their defensive line from five to four miles long, letting them take troops off the line to rest. Both sides mined the space between them to prevent each other from advancing.
Late in the summer, the defenders were relieved by forces under Major-General Scobie. British, Polish, and Czech troops replaced most of the Australians. But some Australians stayed, seeing the fighting through to the end.
Two Attacks
Now Rommel was planning a new attack, but so were the Allies. General Auchinleck, British Commander-in-Chief in the Middle East, was preparing Operation Crusader.
Two previous attempts had been made to relieve Tobruk, both of them failures. Crusader was different. An attack was launched further south, hoping to tempt Rommel into a tank battle that Auchinleck believed his forces could win. With the Afrika Korp distracted, Tobruk could be relieved.
Because he was preparing to take Tobruk, Rommel didn’t fall into the trap. But then, having captured Allied battle plans and stopped an advance on Tobruk, he saw an opportunity. Racing around the advancing enemy, he tried to cut them off from the rear.
The Relief of Tobruk
Rommel would describe this bold maneuver as a great success. The reality was far less impressive, and though the British were shaken, they were not stopped.
On the 26th of November, New Zealand troops attacked the Germans at Sidi Rezegh near Tobruk, while the town’s garrison simultaneously launched their own attempt to break out. It was a short-lived success, with the two forces linking up and briefly relieving Tobruk. But then Rommel retreated from Egypt, and during the withdrawal, the German forces cut the New Zealand force in two.
With the British advancing elsewhere, Rommel was on the defensive. One final push against Tobruk on the 6th of December failed, and on the 7th the Germans withdrew.
After 242 days, Tobruk was finally saved. The world saw that the German army could be defeated.
