As Blue turned and sailed away on its sentry course, oblivious to its own near destruction, the task force increased its speed for its final approach at the Allied ships.
On the night of August 8-9, 1942 near the island of Guadalcanal, an Imperial Japanese Naval force of eight ships attacked a joint group of American and Australian cruisers and destroyers.
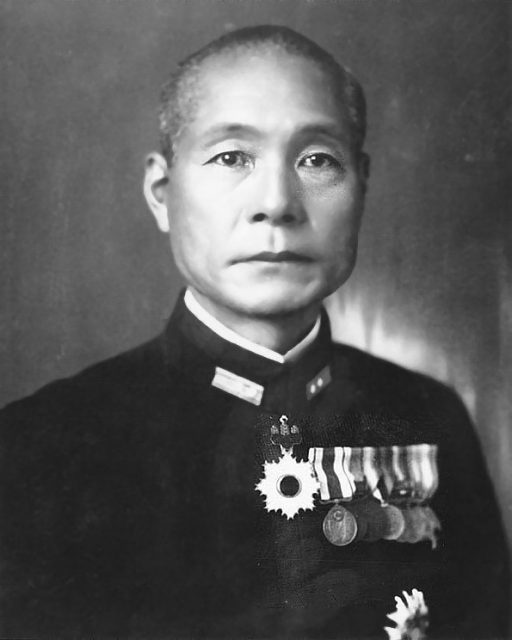
The Japanese force under Admiral Gunichi Mikawa would go on to defeat the Allied naval forces in what has been cited as the worst defeat of the U.S. Navy in a fair fight in history.
The Americans and Australians would receive a bloodied nose with over 1,000 sailors killed and several ships knocked out, and the Guadalcanal campaign’s early success or failure hung in the balance. Despite the losses, the damage could have been worse.
Background
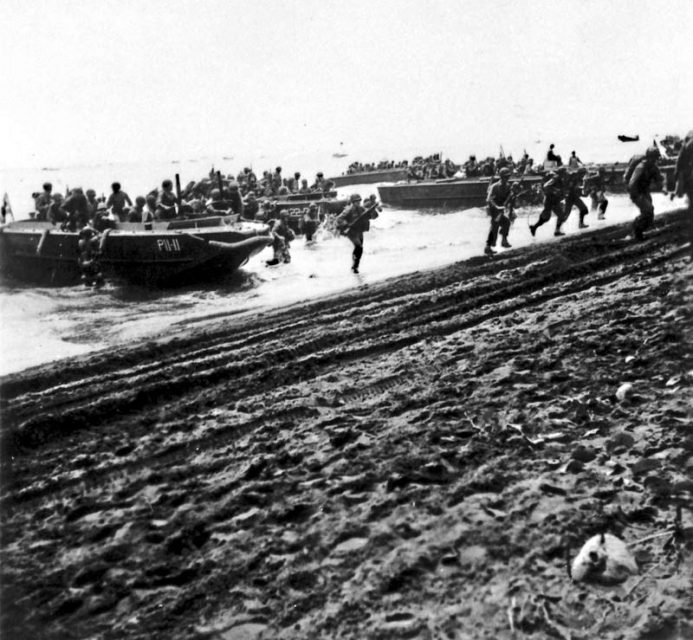
The Guadalcanal Campaign in the Solomon Islands was put in motion for several reasons leading to the Allied landings on August 7, 1942 in which U.S. Marines attacked Japanese troops in one of the earliest land engagements between the Marines and Japanese in World War II.
The U.S. needed the Solomon Islands to be free of Japanese bases in order to secure clear shipping lanes between the U.S. mainland and Australia, which would serve as the major stepping off point for Allied offensives going forward.
Additionally, the Allies needed a base of operations from which to begin to retake the whole of the island chain and eventually eliminate the large Japanese base at Rabaul.
Japanese air attacks on the Guadalcanal invasion force had proven to be ineffective and so a bold plan was launched using Imperial Japanese Navy surface vessels to destroy the transports and their escorts at the island.
Mikawa’s Trip Down “The Slot”
Admiral Mikawa assembled a task force of all his available warships at Rabaul for the strike. This task force consisted of five heavy cruisers including his flagship Chokai, two light cruisers, and one destroyer.
The plan was to use their superior night fighting training to gain the upper hand against the Americans, and limit traveling by daylight to avoid being spotted and attacked by Allied aircraft.
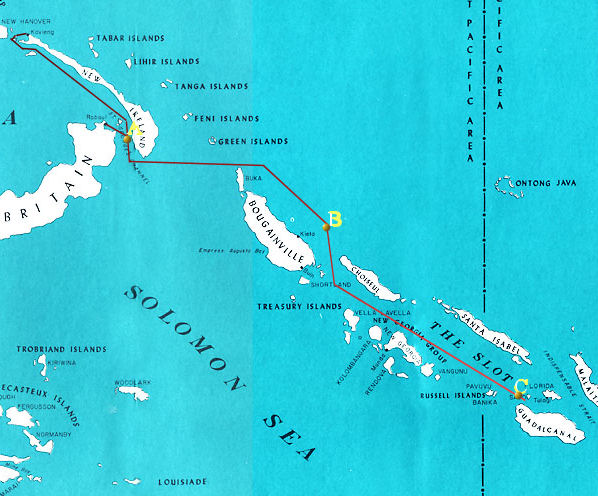
The task force rendezvoused before dark on August 7, 1942 in the northern portion of the Solomons near Cape St. George. Mikawa took the task force east of the island of Bouganville and then rested for several hours the following morning at Kieta.
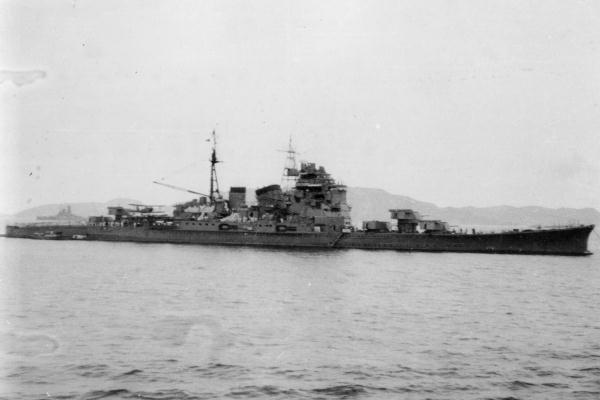
He wanted to reduce his chance of being spotted before making his final approach down the area between Santa Isabel Island and the New Georgia group of islands, which was known as “The Slot.”
Despite his efforts, Mikawa’s fleet was spotted three separate times by Allied forces – once on the 7th by a U.S. submarine and then twice by Australian reconnaissance aircraft on the 8th. He realized that he’d been spotted but stayed the course, waiting for the cover of darkness.
Mikawa launched his own search planes to scout out the positions of the Allied ships near Guadalcanal. What they reported presented a grand opportunity for the Japanese fleet – the Allied ships were divided into two separate groups.
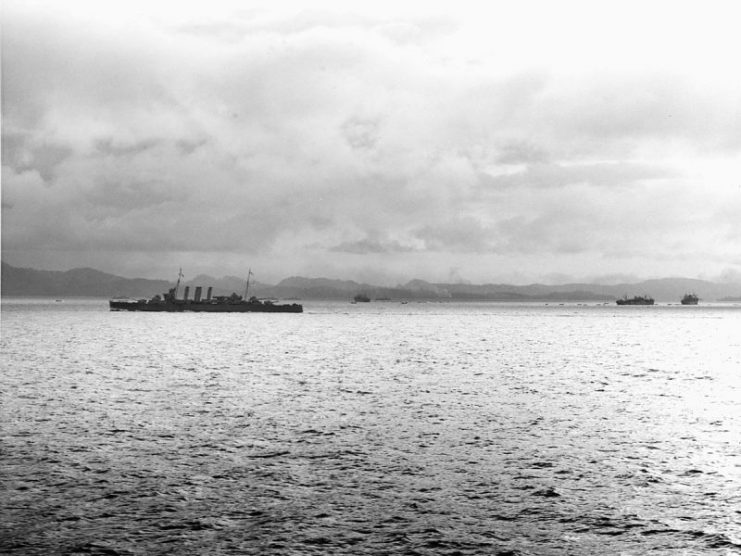
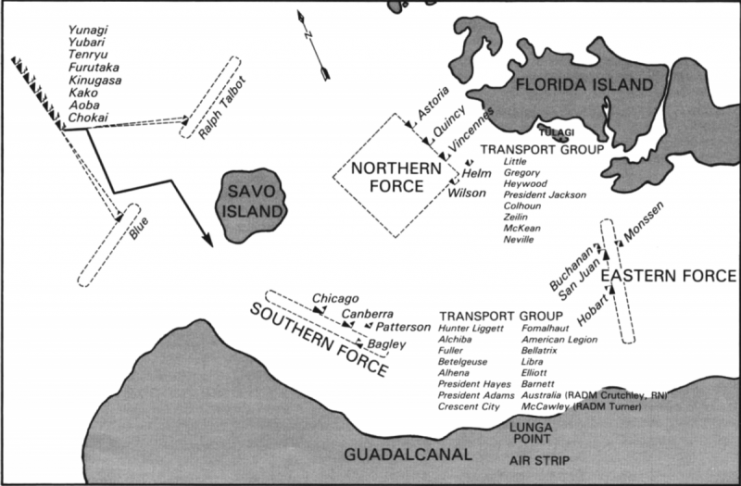
The southern group of Allied ships were anchored near Guadalcanal itself but the northern group was off the island of Tulagi. Savo Island was situated to the west in the approach path to the Allied ships.
This gave Mikawa the opportunity to engage each of the groups separately and destroy them in detail despite the Allies having numerical superiority.
However, the most worrisome incident for Mikawa occurred only a few hours before the attack, when the task force spotted the American destroyer Blue on patrol several miles out.
Mikawa had his ships reduce their speed to keep their wake to a minimum, but with their guns aimed at the lonely destroyer should it give any indication that they had been spotted.
As Blue turned and sailed away on its sentry course, oblivious to its own near destruction, the task force increased its speed for its final approach at the Allied ships.
A Perfect Storm of Errors
The Allied fleet assigned to protect the transports and Marines at Guadalcanal were certainly well equipped to deal with Mikawa’s threat. Unfortunately for the Allies, a series of poor decisions and communication led their defeat at Savo Island.
Vice Admiral Fletcher’s carrier group included three fleet carriers and their escort ships. Additionally, the transport escorts included six heavy cruisers, two light cruisers, and 15 destroyers.
The invasion force also had substantial aerial reconnaissance resources and submarines in the Solomons to keep them abreast of any threats.
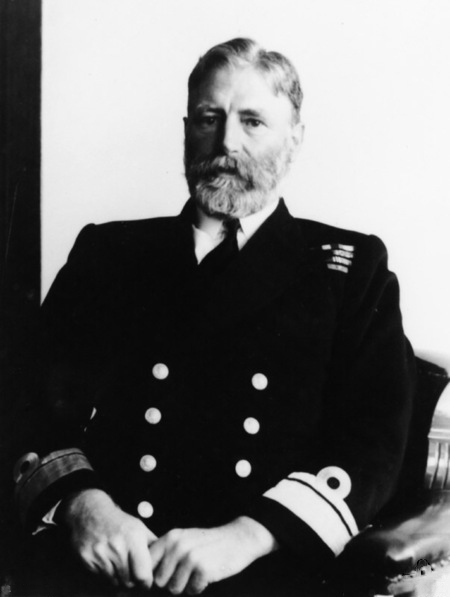
However, following the air attacks on the invasion force the previous day, Fletcher chose to pull his carrier force out of operational range of Guadalcanal, fearing exposure to Japanese carrier aircraft after losing over a dozen fighters.
The escort cruisers and destroyers were then divided into three groups: the aforementioned north and south groups, and an east group to guard the approach to the area opposite of where Mikawa’s task force was heading.
The majority of the destroyers were stationed close to the transport ships out of fear of Japanese submarine attacks and were therefore lost from patrol rosters for the three groups.
Search planes covering The Slot had been requested, but Admiral John McCain Sr. had chosen for undisclosed reasons not to execute daylight searches of The Slot on the 8th, and failed to inform the fleet commanders of this.
Many of the crew on the ships in the Allied fleet, including the officers, were exhausted from the two days on full alert and from the tropical temperatures, so many were on Condition II meaning that 50% of the crew members were asleep on the evening and night of the 8th.
The three reports of the Japanese task force from the 7th and 8th weren’t evaluated by the Allied fleet commanders until the evening of the 8th and were discounted because of the false identification of a seaplane tender in the group.
The commanders felt that the presence of the tender indicated that the task force was not offensive in nature and because they had received no further reports of activity in The Slot, they disregarded it.
Allied commanders were unaware that while they were certainly poorly trained in night operations, the Japanese were conversely exceptionally well-trained and possessed the best night vision equipment of the time.
Lastly, the radar systems that the Allied commanders were relying on to warn of approaching Japanese ships had several flaws when operating near land, unbeknownst to the captains and crews of the vessels utilizing the systems. This is likely why Blue didn’t spot Mikawa’s task force.
All Ships Attack
At one o’clock in the morning on the 9th of August, Mikawa’s task force passed south of Savo Island, heading directly for the southern group of the Allied escort ships.
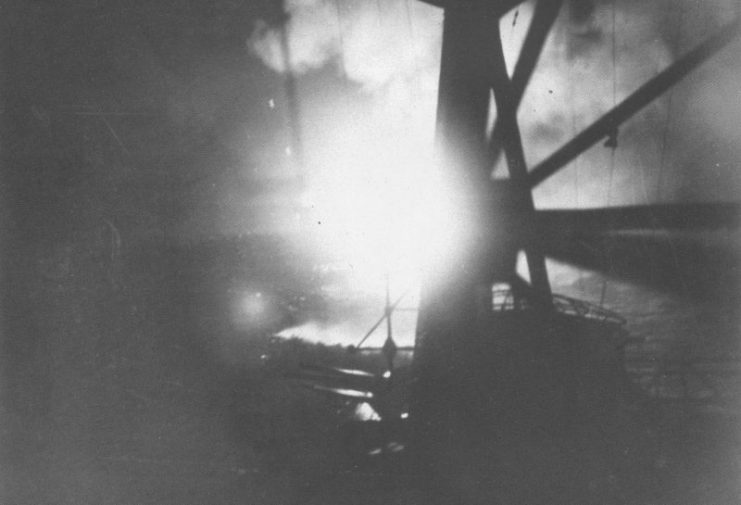
He had sent float planes out in advance to drop flares on the Allied ships in order to improve his fleet’s targeting of their prey. At 1:33 Mikawa gave the order, “All Ships Attack!”
Much to Mikawa’s amazement, his fleet had completely surprised the Allied forces. The first ship spotted by the fleet was the destroyer Jarvis that was already damaged from previous action and Mikawa sent his sole destroyer to engage and destroy her.
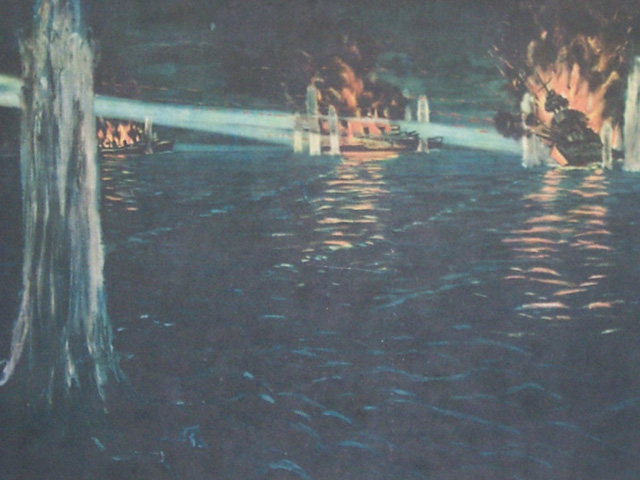
In the southern group of Allied ships, the cruiser Australia had sailed away from the area towards the transports, leaving it with only two cruisers when Mikawa sailed into range and opened fire.
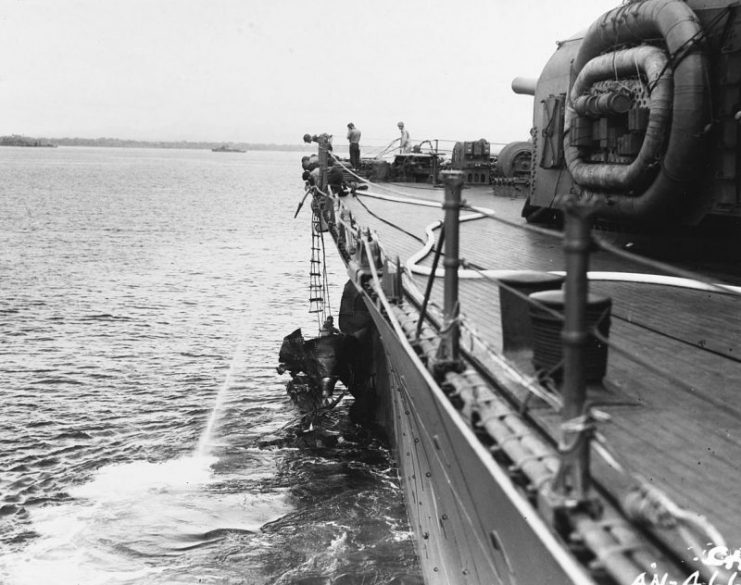
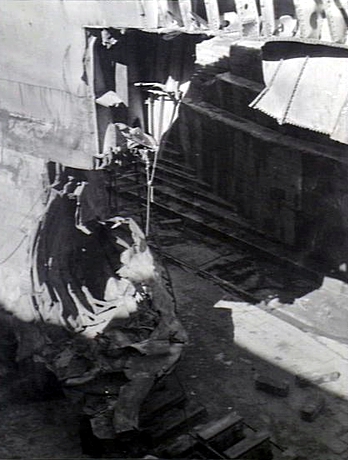
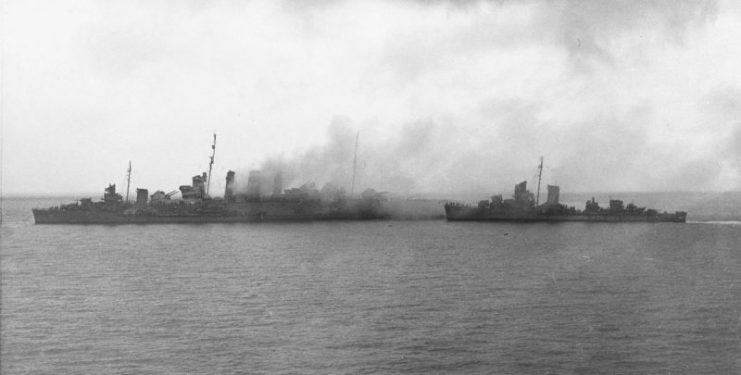
Within minutes the cruisers Canberra and Chicago were taken out of the fight with only Chicago able to manage a response with her secondary guns. Their escort destroyers were ineffective against the Japanese ships despite significant effort from Patterson.
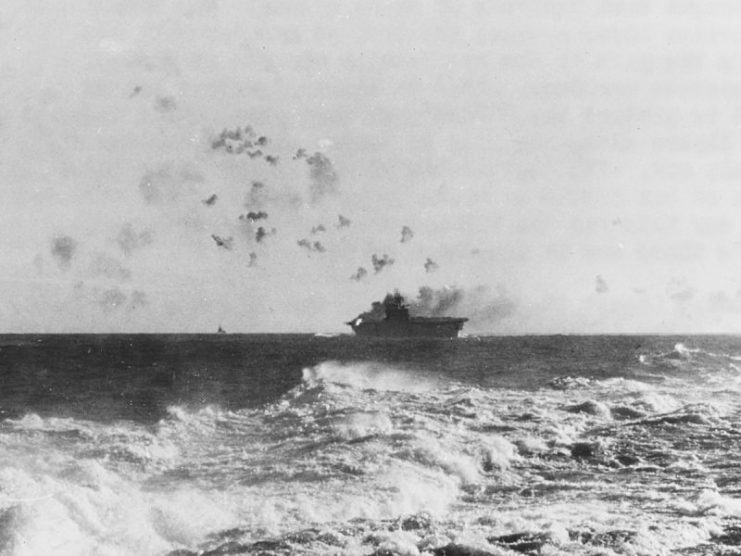
Then Mikawa’s force turned north to meet the second group and unloaded on the unsuspecting cruisers Astoria, Quincy, and Vincennes. All three were sunk as a result of the intense battle, but several hits were scored on Mikawa’s fleet.
Withdraw or Press Your Luck
Mikawa held a meeting with his officers to discuss the next course of action. There was a very well represented discussion on the task force’s options following the successful engagement with the north and south groups.
One argument was to press the attack and destroy as many transports as possible before retiring back up The Slot towards Rabaul. This would derail the Allied plans for Guadalcanal, cost them considerable tonnage in transport ships, and deal a final decisive blow to the escort group assigned to protect it.
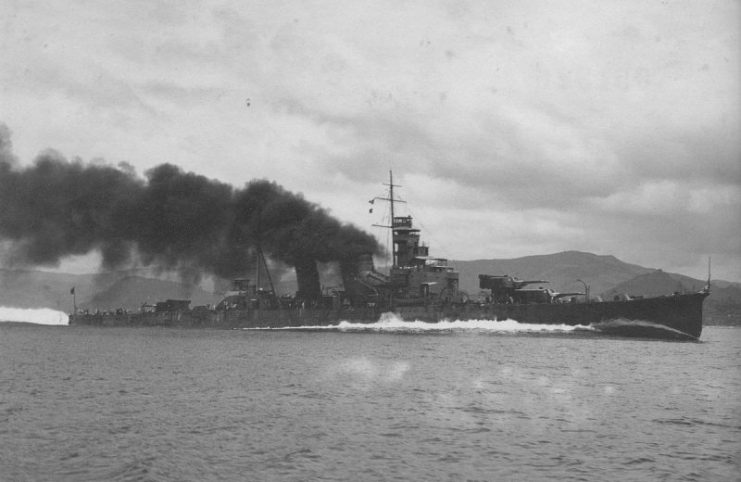
The problem with this course was that it would take time and each moment brought daylight closer and the exposure to the U.S. carrier planes. Mikawa was aware that Japan could ill afford to lose its cruisers as no more were planned for production.
Furthermore, all the torpedo tubes would need to be reloaded, which was a time consuming operation in daylight let alone at night after a battle. Also, they had already expended much of their ammunition and pressing their luck might have left them little to defend themselves.
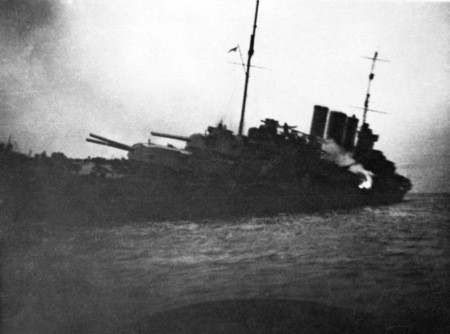
Ultimately, Mikawa erred on the side of caution, satisfied that his bold move would slow the Allied buildup in the area. He was not willing to press his luck when he had a chance to slip away.
It was a shocking blow to the invasion force at Guadalcanal, but thanks to the fortuitous decision by Mikawa to withdraw, the now helpless transports supplying the U.S. Marines on the island were left intact.
Allied forces would dig in and slowly assert their dominance in the Solomons, bringing them closer and closer to Japan’s eventual defeat.
