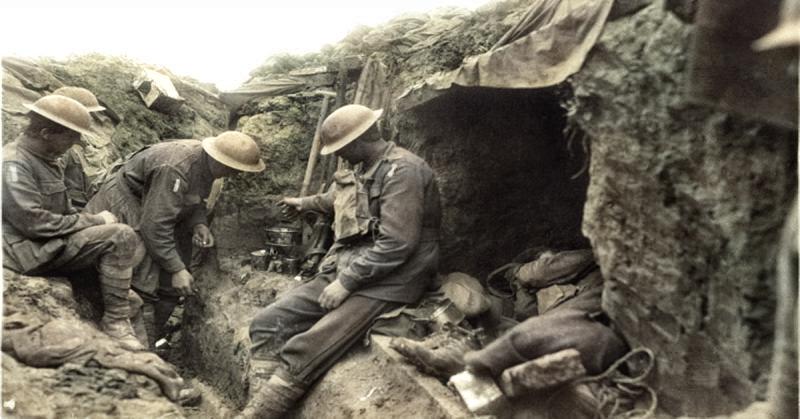
Gough ordered 12 British tanks to precede the Australian advance, but many of them were either hit by German artillery of simply broke down.
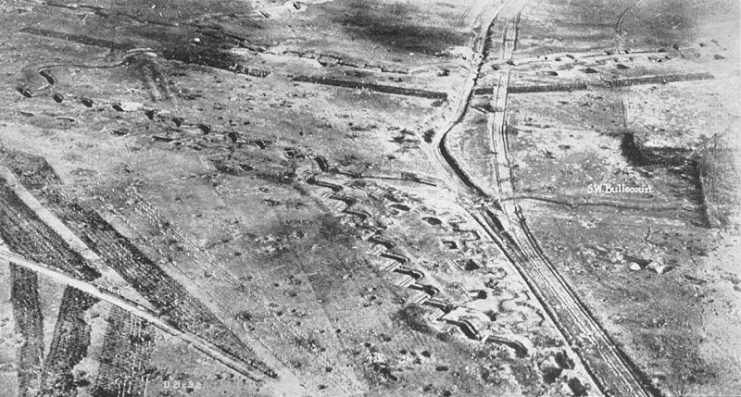
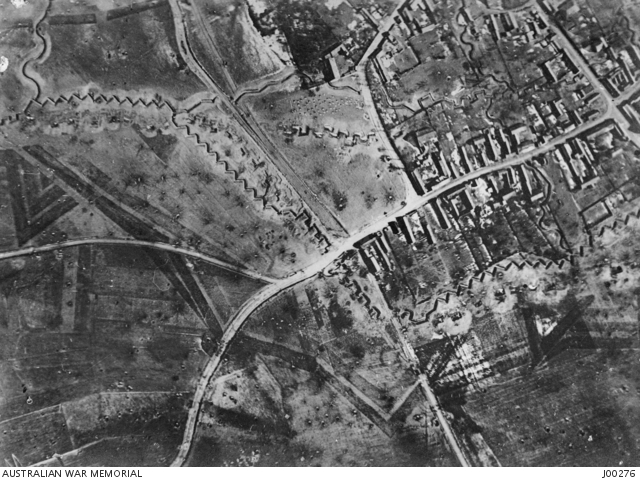
In 1917, the village of Bullecourt lay at the southern end of the Hindenburg Line. The Hindenburg Line was a defensive—as opposed to offensive—position built in 1916-1917 on the Western Front. The Hindenburg Line sought to stop French and British attempts at moving into German territory.
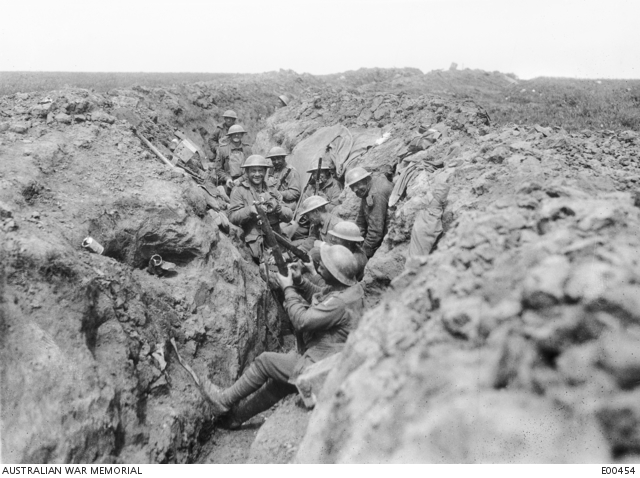
Australian involvement at Battle of Bullecourt was staged in two parts. The first attack was on April 11, 1917 while the second attack was staged on May 3, 1917.
The first attack was significant because there was a 75% casualty rate among the approximately 3,000 Australian troops that stormed the Bullecourt defensive position, while 27 officers and 1,137 other ranks were taken prisoner. To put that into some perspective, almost four out of every ten Australians who went “over the top” that day ended up in POW camps in Germany.
It is worth pointing out that the survival rate of Australian POWs in the First World War was significantly higher than during the Second World War due to their later experience with the Japanese.
First Battle at Bullecourt—April 11, 1917
The commander of the British 5th Army was General Sir Hubert de la Poer Gough. At 46—relatively young for a general—he was enthusiastic and eager to impress the War Cabinet with his ability to win battles. It is fair to say that such enthusiasm usually came at the expense of his men.
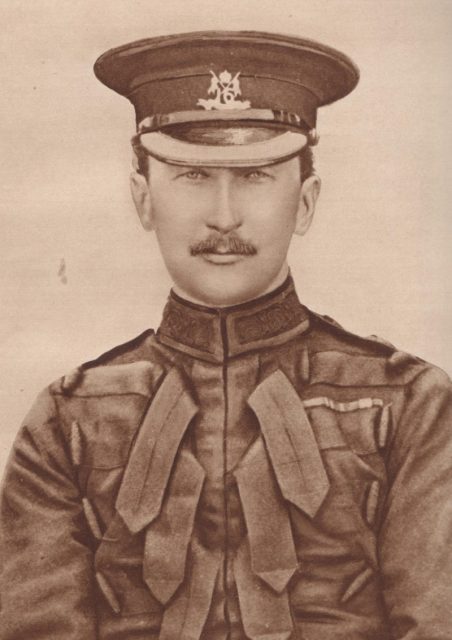
Accordingly, when he decided to attack the Bullecourt defensive positions he employed two brigades of the Australian 4th Division to assist his British troops in the attack. Yet Gough’s poor planning and logistics resulted in a disastrous 75% casualty rate. In contrast, the German defenders suffered only 750 casualties.
The officers in charge of the Australian troops had warned Gough of the likelihood of defeat, but their advice was ignored. A key reason for the Australian’s high casualty rate was Gough’s failure to order any artillery support for the Australians. While this may not have had secured victory, it certainly would have lessened their casualties.
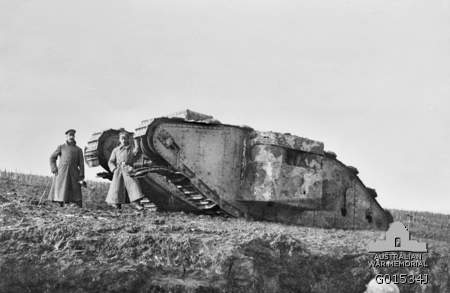
Meanwhile, Gough ordered 12 British tanks to precede the Australian advance, but many of them were either hit by German artillery of simply broke down. Additionally, they were extremely slow moving and impaired the Australian troop’s advance. Many of the tanks were left abandoned, which gave a photo opportunity for German officers before the second attempt to take the position.
Second Battle at Bullecourt—May 3, 1917
A little over three weeks after the first attempt, Gough again ordered the Australians to attack the German defensive position. This time he planned to rotate three Australian divisions—the 1st, 2nd, and 5th Divisions— with a combined strength of close to 30,000 men.
https://youtu.be/tx41dFGvurQ
On May 3, 1917 the 2nd Australian Division attacked the German defensive line. The attack had some success with one of the division’s three brigades managing to reach the German lines. Nonetheless, another brigade was almost completely wiped out. The 1st Division was sent to relieve the severely depleted 2nd Division.
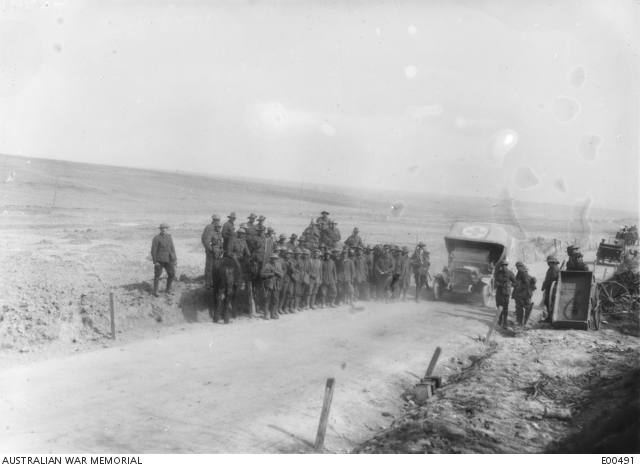
After a day or so with limited success and suffering an inordinate number of casualties, the 2nd Division was then relieved by the Australian 5th Division. The 5th Division fared little better and only fought for another two days before returning to their lines. All-in-all, the Australians suffered just over 10,000 casualties, including almost 1,500 taken as POWs.
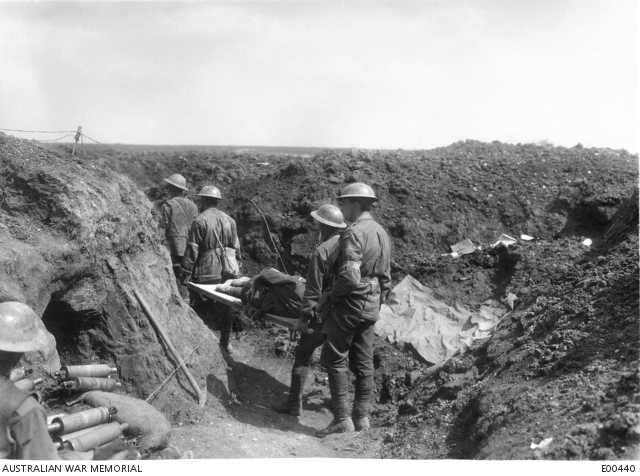
In turn, the Germans were forced to retreat to their well-established trenches and bunkers behind the line. For all the thousands of Australian casualties, the Australian and British front line only advanced about 0.6 miles (1 km). To put that another way, there were ten Australian casualties for every 1 meter of the 1 km advance.
General Gough declared that the two battles at Bullecourt were successful, remarking that it had forced the Germans to retreat—albeit only by one kilometer.
Read another story from us: Fighting for Mother England: The Australian Infantry in WW1
Charles Bean, the official Australian First World War historian was more critical, writing that “Bullecourt, more than any other battle, shook the confidence of Australian soldiers in the capacity of the British command; the errors, especially on April 10th and 11th, were obvious to almost everyone”.
Bean didn’t mention the week-long second battle at Bullecourt that began on May 3, 1917. Perhaps he thought his assessment of Gough’s decisions in the attack of April 11 already said it all.
