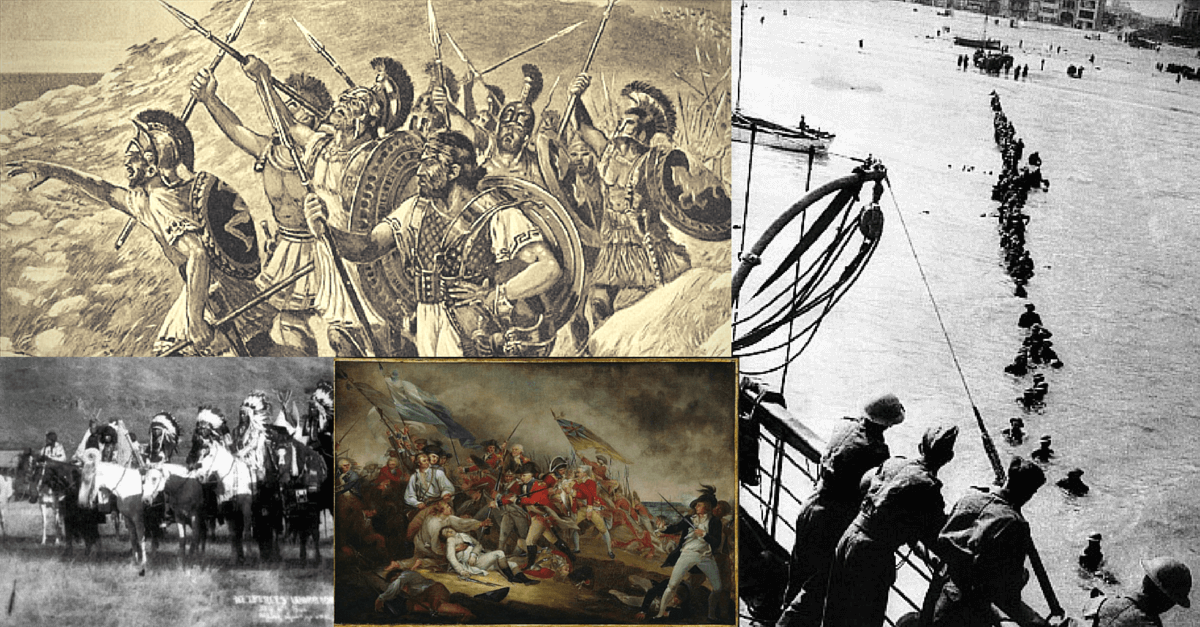
The Spartan stand at Thermopylae is greatly celebrated, both when it happened and to the modern day. Those men were destined to perish as soon as they were surrounded, but other groups faced odds almost as great. The valiant few who stood their ground at Rorke’s Drift, the American troops at Bastogne, and others ended up victorious for staying. Sometimes, however, running away is the smarter option. The quote “he who fights and runs away may live to fight another day” may seem cowardly, but it can often be a great rule to follow to lose a battle to win the war. Here are a few of those examples.
1. The March of the Ten Thousand
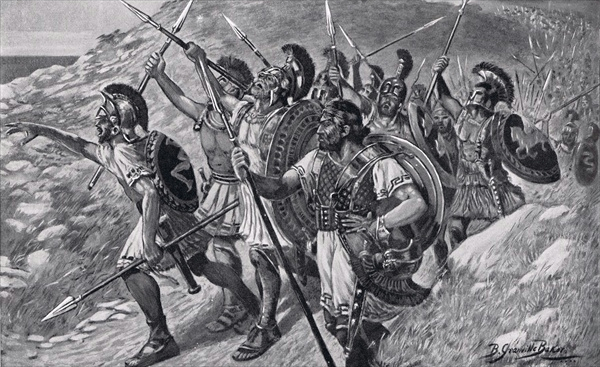
One of the earliest cases of running away, one could hardly blame this group. After the Greco-Persian Wars, Greek mercenaries were highly sought after and feared mercenaries. When 10,000 of them were hired to be part of a Persian civil war they traveled to fight deep in the heart of Persian territory.
The general who hired them, Cyrus the younger, hoped to win himself a crown, but ultimately died in the battle of Cunaxa. Though their employer perished, the Greek soldiers performed admirably in battle, charging and scaring off most of their foes. Though they won, they had no allies left and were surrounded by hostile Persians. They had little choice but to march several thousand miles to a friendly coast to sail back to Greece.
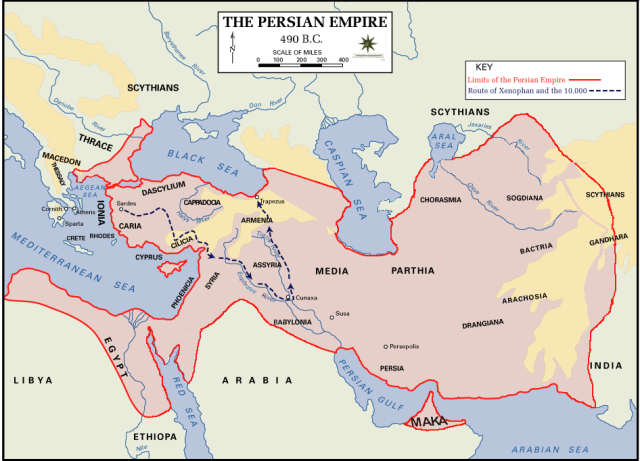
The men formed a massive hollow square formation and steadily marched towards a coast, being attacked and harassed much of the way. They were able to make good use of Rhodian slingers to keep enemy skirmishers out of range and few Persians would risk a direct attack against the heavy hoplites. Had the Greeks sought asylum with a Persian they would have likely been betrayed, and they would have starved or succumbed to raiders had they not decided to flee. Their famous journey is famously recorded by Xenophon in his work Anabasis.
2. Dunkirk Evacuation
Many people are fully familiar with the shocking speed and efficiency of Germany’s Blitzkrieg attacks on Western Europe. Massive forces well mixed with tanks, artillery support, infantry, and aircraft were too much for the French and British to handle.
In late 1940, the Germans tore through Belgium and took almost the entire northern coast, with the exception of the area around Dunkirk. The coastline dips south to the west of Dunkirk and the Germans quickly threatened to cut off hundreds of thousands of allied troops. The Allies tried to counter this with the battle of Arras and many other offensives aimed at severing the German spearhead, but they were unsuccessful and soon the Allies were trapped by the extremely efficient German military.
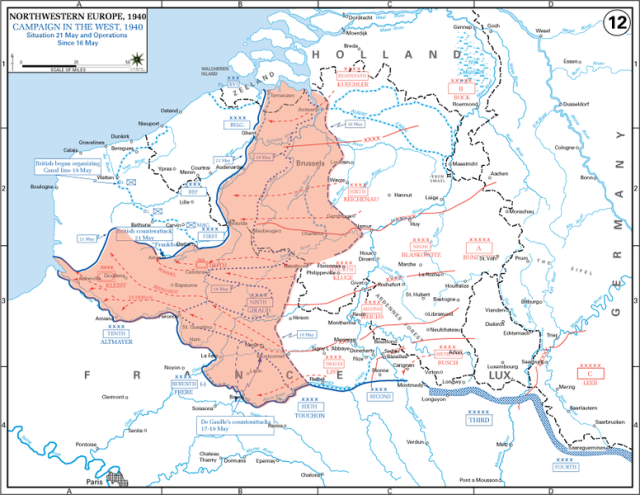
There was an often debated halt by the Germans, maybe a personal decision by Hitler, perhaps political by the Luftwaffe wanting the glory, but regardless, the Allies were given several days to arrange a retreat. The retreat was absolutely needed; the Allies had less than half a million troops many already having been beaten and retreated in previous battles. They were confined in an easily targetable area and fought against nearly a million German troops, complete with heavy artillery and with the possibility of bringing in any reinforcements they might need.
Despite being trapped and fleeing, slowly at first, the Allies did put up quite a fight. German incursions occasionally sliced deep into the Allied lines but were repulsed eventually with heavy casualties. On one occasion the RAF bombers were able to target a German force preparing for a massive attack and succeeded in disrupting it before the Germans could even advance. German bombers dropped bombs as well as leaflets showing maps of the surrounded British and urging them to surrender; these maps were often used as toilet paper.
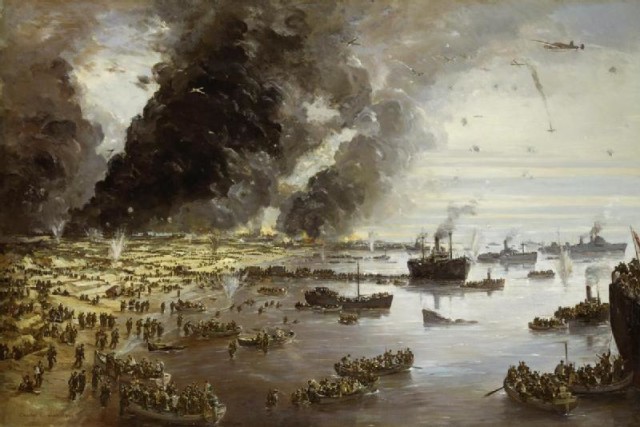
A massive campaign to ferry the Allied troops to Britain ensued, using every available vessel and many hundreds of private vessels aided in the evacuation which saved over 300,000 Allied troops and civilians. Had these men been captured, the fight against Britain may have gone easier for Hitler, he may even have been emboldened enough to invade the British, something he could never work up to in reality.
3. Flight of the Nez Perce
Though running away can be the smart choice, it doesn’t always have a happy ending. In the case of the Native American Nez Perce, away was a bad move, but was the better than any other options they had. In 1863 the U.S. decided to shrink the Nez Perce reservation to an area about ten times smaller than it had previously been. Some of the Nez Perce took this new position with heads bowed, but many others protested this move and vowed to fight for their freedom.
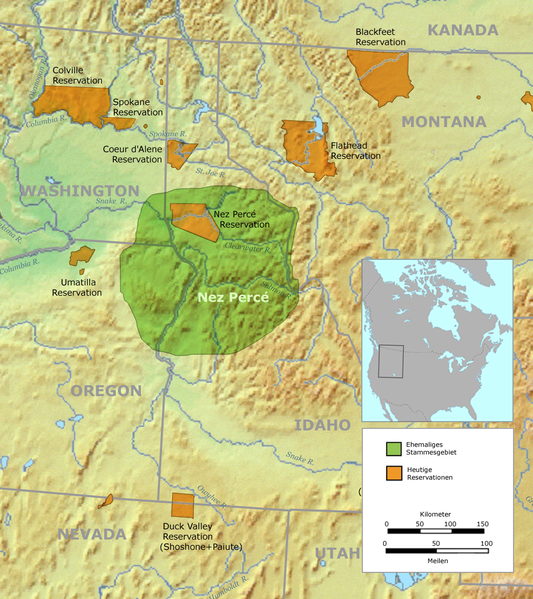
The tribe was stationed in north-central Idaho, close to the Montana border. They had provoked a war and the spread out U.S. forces were sure to converge on their location. Rather than sit and wait for the tens of thousands of possible U.S. troops, the fighting Nez Perce decided to pass through the Rocky Mountains into Montana and seek help from the crow tribe, or at worst, flee to Canada as some of the victors of Little Bighorn had done.
The Nez Perce were skilled at traversing the dangerous Rockies and took the Montana Garrison at Lolo Pass by surprise and encountered no resistance there. They had been able to skirt through several U.S. groups in Idaho losing only 5 Nez Perce warriors, but killing over 75 U.S. soldiers and civilian volunteers.
![The Nez Perce had a proud tribal tradition, but were shy about incorporating guns, many battles were extremely lopsided simply because the native's aim was far better than the U.S. army's CALL NUMBER: LOT 12815 [P&P] Check for an online group record (may link to related items) REPRODUCTION NUMBER: LC-USZ62-122130 (b&w film copy neg.) SUMMARY: Yellow Wolf, full-length portrait, facing slightly right, holding rifle and tomahawk. MEDIUM: 1 photoprint. CREATED/PUBLISHED: c1909. NOTES: H122272 U.S. Copyright Office. Copyright by Lucullus Virgil McWhorter. No. 5. SUBJECTS:](https://www.warhistoryonline.com/wp-content/uploads/sites/64/2016/05/Him-mim-mox-mox_-Yellow_Wolf-_a_warrior_of_the_Nez_Perce_1877-511x640.jpg)
4. Battle of Bunker/Breeds Hill
The Battle of Bunker Hill is often remembered as a Pyrrhic victory for the British and less so for the colonists running away. In the early days of the war, the Siege of Boston was the incredibly important kick off to the Revolutionary War. The British-controlled Boston was precariously besieged by colonial militia forces.
The colonials set about fortifying the Charlestown Peninsula for control of the strait between there and Boston and the possibility of bombarding the city. The British soon landed wave after wave of infantry on the hilly peninsula to drive off the rebels.
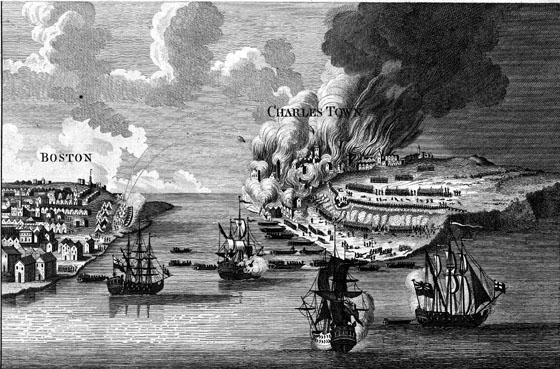
In a heroic defense, the colonial troops fired down the hill at the advancing British Redcoats with astounding success. Over 1,000 British were killed or wounded in this relatively smaller scale engagement and a disproportionate amount were officers.
Eventually, the colonists ran out of ammunition and had to retreat. The influential and well-respected colonial officer Joseph Warren was killed in the fighting before the colonists withdrew. They could have stayed, in an era where bayonet charges could still be effective, they could have had a gallant last stand against the British to influence the rest of the colonists similar to Leonidas and his 300 at Thermopylae.
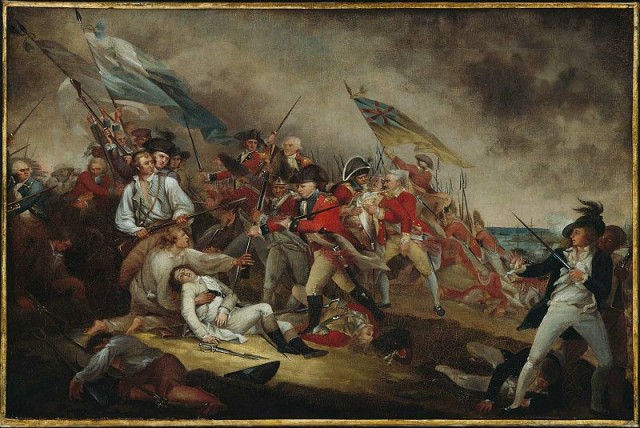
As it turns out, the sole death of Warren was enough to drive home the colonists’ will to fight, and many of the combatants who survived did a great deal more to win the war for America. John Stark (no not Ned’s son), a Colonel at Bunker Hill, went on to command militia forces and fought in many battles of the war, famously becoming the “hero” of the battle of Bennington.
George Claghorn was a young officer at Bunker Hill and was shot in the knee. He would go on to take an interest in shipbuilding and is known today as the master shipbuilder of the USS Constitution. Thomas Knowlton served as an officer at Bunker Hill and was later promoted to Colonel. He would go on to form Knowlton’s Rangers, America’s first official group of spies.
By William McLaughlin for War History Online
