The Battle of Hastings was a turning point in English history. It decided the fate of the English monarchy and shaped the country’s language, laws, and culture for a millennium.
The Cause of War
In January 1066, Edward the Confessor, King of England, died without leaving a direct heir. The Witan, England’s noble council, selected the Earl of Wessex, Harold Godwinson, as his successor. The strongest native claimant to the throne, Harold faced competing for the claim from two men. One was Harald Hardrada, King of Norway, whose claim to the throne was inherited from his father. The other was Duke William of Normandy.
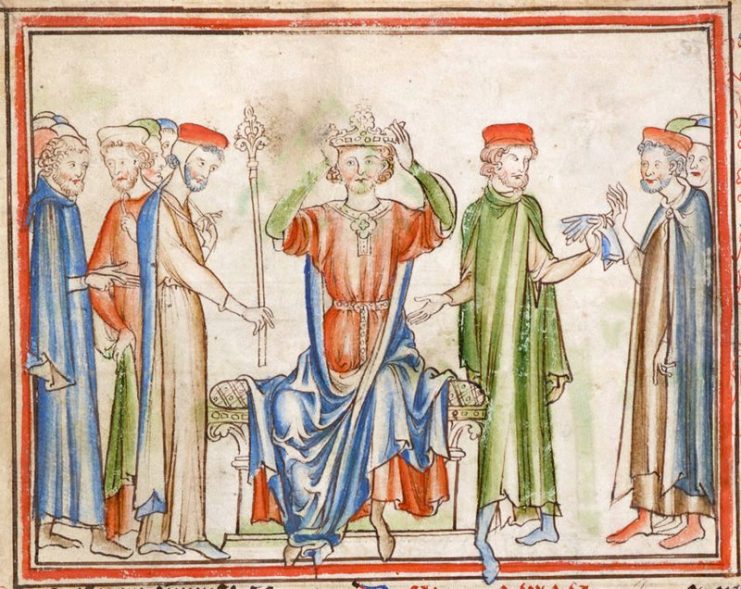
William was a cousin of King Edward and had spent time with him while Edward was living in exile. Edward may have promised William that he could be his successor, though Edward didn’t have the right to make this offer. This was the basis on which William would make his bid for the English throne.
This claim was strengthened by a more recent incident when Harold Godwinson was shipwrecked on the continent. William rescued him from the Count of Ponthieu. While in William’s hands, Harold promised not to oppose William’s accession to the English throne.
When Harold took the throne, William took up arms to take his throne and punish Harold’s betrayal.
The Hastings Campaign
William gathered the support of Norman nobles and of the Pope, who gave the expedition his blessing. On the
coast of Normandy, he gathered 8-10,000 soldiers, with thousands of newly built boats to carry them, their supplies, their horses, and their non-combatant support.
Meanwhile, another invasion fleet under Harald Hardrada (King of Norway) landed in Yorkshire. Harold Godwinson rushed north and defeated Hardrada at the Battle of Stamford Bridge on the 25th of September.
The south of England was now exposed. All William needed was a favorable wind, which arrived on the 27th of September. The next day, his invasion force landed in southern England, and on the 29th they reached the town of Hastings, which had a good harbor and line of retreat. They built a wooden fort and started pillaging the surrounding area.
Word of the invasion reached Harold in York on the 1st of October. He rushed south, assembled an army in London, and sent orders for others to meet him on the way to confront William. On the 13th of October, his army assembled at Caldbec Hill, just north of William’s position.
The Battle Begins
Early on the 14th, Harold’s army occupied a strong defensive position on Senlac Hill, a ridgeline blocking the Norman advance towards London. Above them flew the golden dragon royal standard of Wessex and Harold’s personal banner, that of the Fighting Man. The elite of the army, the housecarls, formed the heart of the line, supported by the fyrd, a levy of lower quality troops.
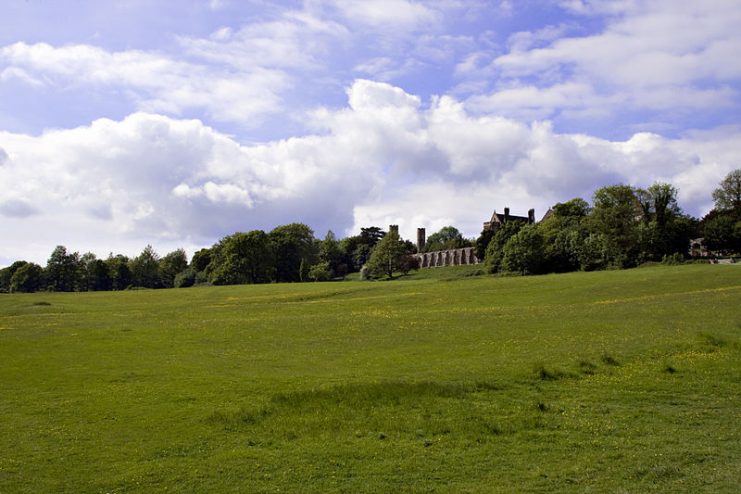
Following a swift advance to the land below Senlac Hill, William assembled his army into three divisions. His elite included mounted knights carrying lances and shields. They were supported by more numerous infantry, including archers. The sides were quite evenly matched, though the Normans may have had slightly fewer men than the Saxons.
William first sent his archers forward. Though better equipped for ranged combat than the fyrd, they suffered from a bombardment of rocks and javelins, while causing little damage to the English line. After running short on arrows, they withdrew.
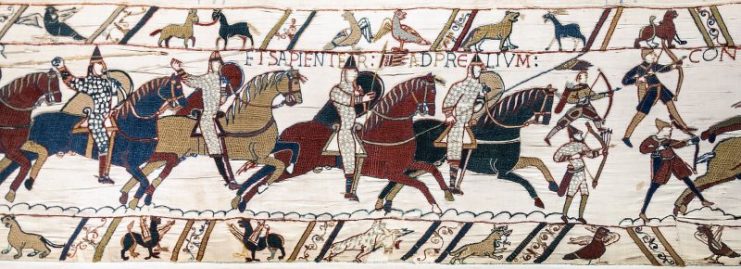
Next, William advanced his heavy infantry. Once again, they suffered from the missiles flung by the fyrd. On reaching the English lines, they engaged in a brutal struggle with the housecarls.
The English lines held. Having borne the brunt of the day’s fighting, the Norman infantry withdrew.
The Cavalry Attack
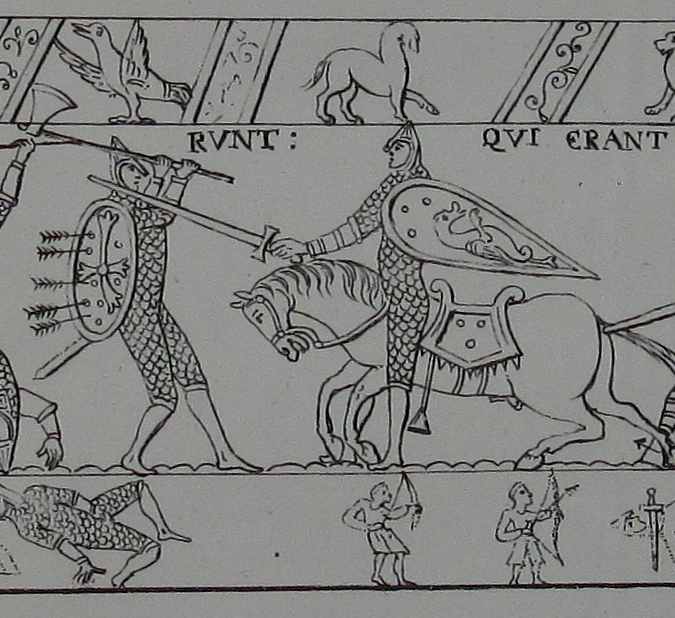
Now William joined the charge, leading his elite cavalry into an attack.
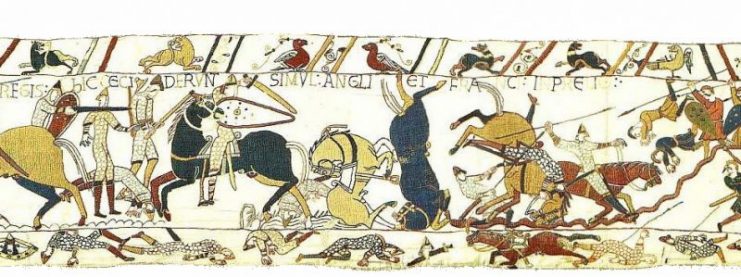
The Norman cavalry usually delivered a high-impact charge, but the terrain robbed them of this. On the left, the ground was boggy, and on the right, they had to attack uphill. Their charge failed to break the tough English line.
The Norman line, which consisted primarily of Breton knights, broke. Retreating away from the English, they trampled their own infantry, leaving that flank of the Norman force in chaos. The English right flank broke ranks and pursued them. William himself was caught up in the panic and unhorsed. A cry went down the lines that the Duke was dead.
But William was not so easily beaten. He raised his helmet, proving that he was still alive, and rallied the broken cavalry. They charged straight into the disordered English right and devastated it.
Fortunately for Harold, he had troops to plug the gap. As William advanced again, the English line was once again intact.
William flung his cavalry back onto the offensive. Twice more, parts of the Norman line retreated, whether broken or feigning a route. On both occasions, William made the most of the opportunity to attack English troops who pursued them.
The End of Saxon England
By four in the afternoon, time was running out for William. There were only a few hours of daylight left and the Saxon line stood strong. Determined to win, he flung all his forces into one last assault. Archers fired high over the army, forcing the English to raise their shields. Then all of the Norman cavalry and infantry attacked at once.
At last, cracks showed in the Saxon line. Harold had run out of reserves to plug the gaps. The Norman cavalry drove wedges into holes in the English line. Slowly but surely, William’s men were getting a hold on the heights of Senlac Hill.
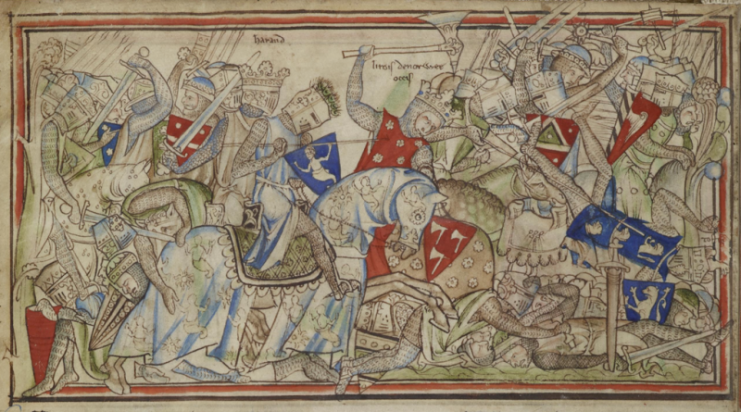
As night was falling and the fighting was at its height, Harold was hit in the eye by an arrow. Norman knights rushed in to finish off the wounded king.
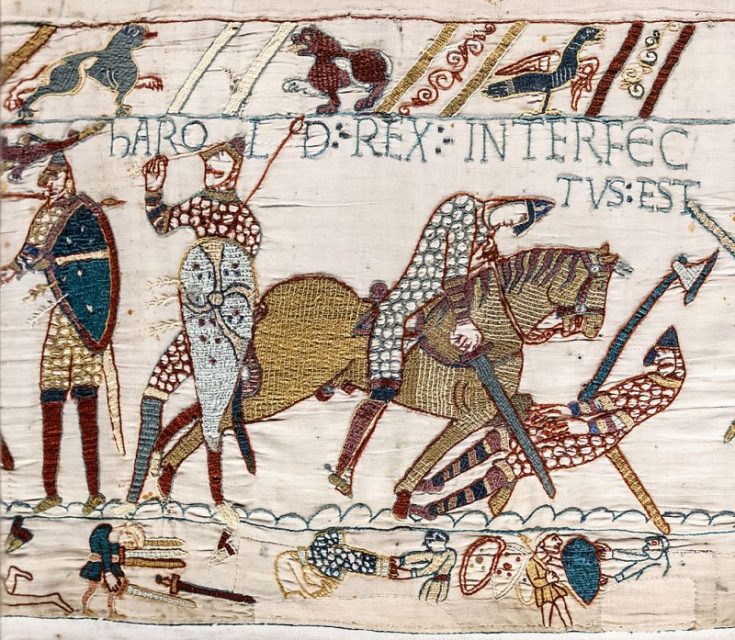
Some of the housecarls fought on, battling to the end beneath the banners of the Royal Dragon and the Fighting Man. But the cause was lost. As most of the English force fled through the last of the fading light, they were pursued and cut down by Norman cavalry.

Read another story from us: Hastings and Beyond: The Norman Conquest of England
The battle was over and with it Saxon rule of England. Duke William of Normandy became King William of England, bringing in French language, customs, and laws.
Saxon England died with Harold on Senlac Hill.
