Part of the Third Battle of Ypres, the Battle of Menin Road was a testing place for the British. They countered a tactic that had been bringing the Germans success and gained a small, costly advance that characterized the fighting of the First World War.
Third Ypres
The Third Battle of Ypres was the big British push of 1917. Field Marshal Haig set out to make what 1980s TV sitcom Blackadder would mock as “yet another gargantuan effort to move his drinks cabinet six inches closer to Berlin.”
Haig believed these pushes would eventually bring the Allies into Germany. He thought by wearing down German troops he would eventually create a gap in their lines through which fast-moving troops could pour. For him, it was fundamental to the war.
Local geography encouraged both sides to make attacks around Ypres. The town was surrounded on three sides by ridges in the otherwise flat countryside of Flanders. High ground was well worth fighting over.
General Gough had led the first attacks of the battle, but they had not brought Haig his breakthrough. Now he turned to General Plumer.
Preparation
Plumer was an efficient, methodical commander. He had assembled an outstandingly competent staff, who had demonstrated their abilities as a team in a previous operation on Messines Ridge.
There would be no rushing a meticulous planner like Plumer. Told at the end of August 1917 he was leading the next big attack, he took three weeks to prepare and plan. There was a lull in the fighting while he gathered his resources.

What counted as a lull in the Third Battle of Ypres would seem like devastating carnage by the standards of most wars. 10,000 casualties were sustained in the first two weeks.
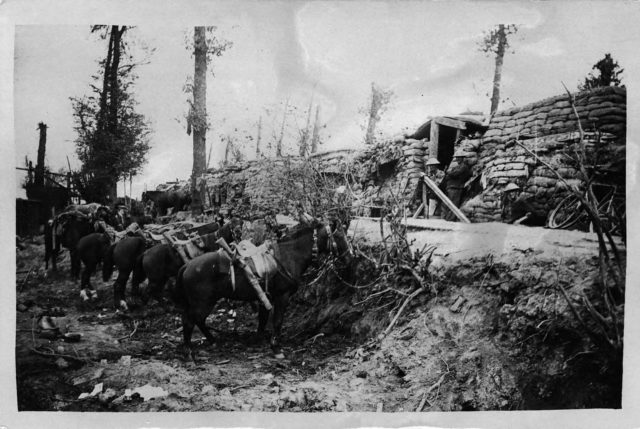
For the first time that year, the weather turned to the advantage of the British. The continuous rain that had turned the battlefield into a quagmire let up for ten whole days. In the relatively dry ground, Plumer’s men dug trenches and repaired roads.
A Troubled Advance
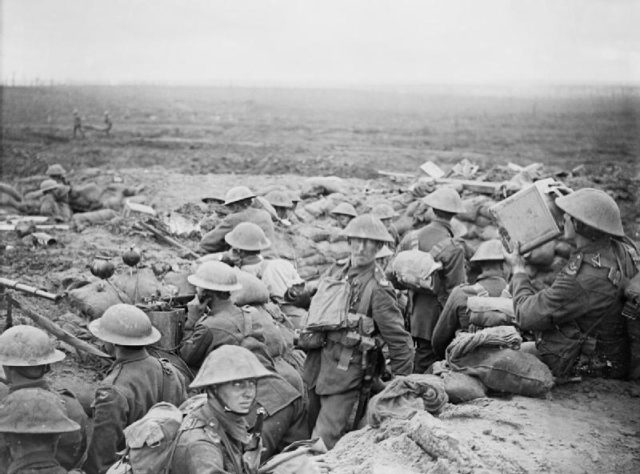
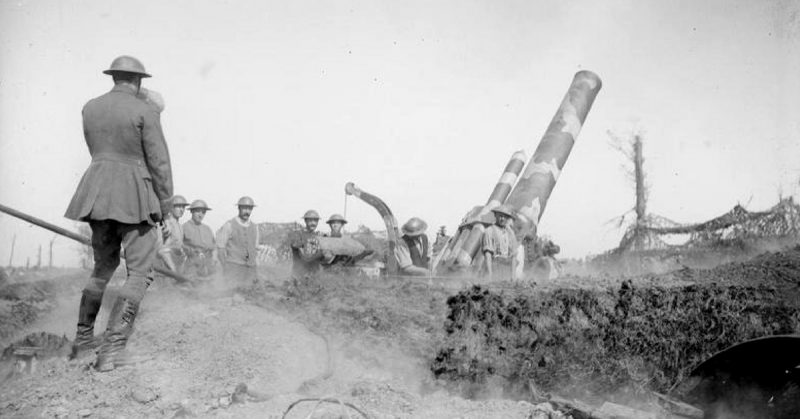
The skills and techniques of artillerists had been refined over the preceding three years. Plumer made use of this. When his artillery opened fire at 0540 on September 20, they did so in planned formation. Guns were concentrated to provide one for every 5.2 yards of ground to be attacked. Infantry advanced behind the shelter of a creeping barrage, one of the great innovations of the war. A wall of explosions helped to hide them from the fire of their enemies and to force those enemies to keep their heads down.
Sadly, lessons had still to be learned on how to deploy the newest weapon on the battlefied; the tank. Previous operations at Cockcroft and Springfield had demonstrated the potential power of these fighting vehicles. Their first outing at the Somme a year earlier had shown the perils of fielding them on broken ground, where they could easily become stuck. Plumer and his staff seem not to have paid attention to this. The tanks were used as they had been at the Somme and so contributed little to the battle.
The main thrust of the advance was on the Menin Road, which led southeast across the ridge and toward the town of Menin. South of the road, the Germans put up heavy resistance, especially around their strong defense of Tower Hamlets. The advance was successful, but Tower Hamlets remained in German hands.
Along the Road
Remarkable advances were made on Menin road itself.
The 11th Prince of Wales’s Own (West Yorkshire Regiment) and 69 Trench Mortar Battery took Inverness Copse, long a target of British attacks.
Troops from the Australian and New Zealand Army Corps (ANZACs) took the shattered remnants of Glencorse Wood, a site much fought over since the Third Ypres battle began.
By 0745, the 3 (Queensland) Brigade, part of the ANZAC force, took Nonne Bosschen and reached the western side of Polygon Wood, another of the sites frequently fought over during the years at Ypres.
Eagle Trench
Near Langemarck, the Germans held the strongly fortified positions of Eagle Farm and Eagle Trench. The task of driving them out initially fell to the 11th Rifle Brigade, 12th Rifle Brigade, and 6th Oxfordshire and Buckinghamshire Light Infantry.
The 12th Rifles and the Light Infantry took Eagle Farm and moved on to seize the southern end of Eagle Trench. The 11th Rifles lost two-thirds of their men before securing a section of the trench.
For three days, Eagle Trench was divided between the Germans and the British.
On September 23 the 10th Rifle Brigade and 12th King’s Royal Rifle Corps assaulted the German sections of the trench. With the armies so close together, artillery could not be used. They used trench mortars to soften the Germans up. Then they threw grenades in before charging with bayonets, taking the rest of the trench in bloody close quarters combat.

Counter-Attacks
Following the British advance, the Germans turned to a tried and tested tactic. Crack units were sent to counter-attack the British.
Previously, it had brought success. The British had always been pushing hard for a breakthrough. The German counter-attacks hit formations that were strung out and still trying to push forward.
This time it was different. Plumer’s tactics were as calm and methodical as his preparations. Referred to as “bite and hold,” his approach was for units to achieve small victories and then consolidate rather than pressing on. It blunted the German counter-attacks and let the British hold the ground they had taken.
The Success of Bite and Hold
The Battle of Menin Road proved the value of bite and hold tactics. The British, Australian, and New Zealand troops made important advances and retained taken ground. German counter-attacks were defeated. The Allies had further successes in the following days.
Menin Road was not a battle of great spectacle. It was not a flawlessly executed operation. It did prove the worth of a methodical commander in a messy war.
Source:
Martin Marix Evans (2002), Over the Top: Great Battles of the First World War.
