Off the western coast of Australia, two ships lie on the bottom, time capsules of a battle which took place over 75 years ago. In 1941, they were locked in a short but desperate duel for survival. In the end, both ships sank, and only 318 of the 1044 men involved in the battle survived. Those ships were the cruiser, HMAS Sydney, and her adversary, the German auxiliary cruiser the Kormoran.
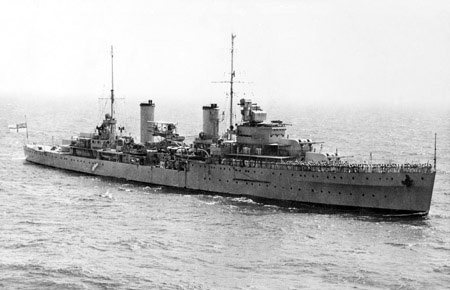
In February 1941 after a successful campaign in the Mediterranean, the Sydney, a Modified-Leander class light cruiser returned to Australian waters for refitting. Her crew was well seasoned but ready for the more leisurely duties of convoy escort in the Indian Ocean. While German merchant raiders occasionally made their lives difficult, for the most part, it meant they would no longer be under constant threat.
In April 1941, the German auxiliary cruiser the Kormoran sailed into the Indian Ocean. She was a merchant raider and had already spent a successful career raiding the Atlantic. In July, after changing her appearance to look like a Dutch Freighter, the Straat Malakka, she moved closer to Australian waters. By the end of October, she was laying mines off the coast of Western Australia. The two ships were now on a fateful collision course.
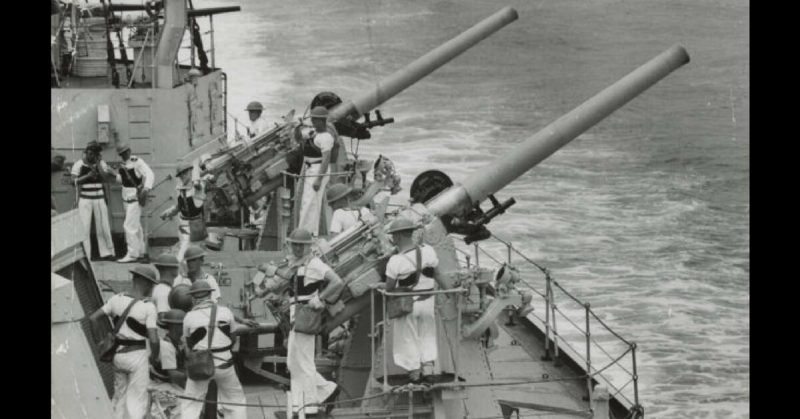
The Sydney was the pride of the Australian fleet; she was fast, well armed, and very modern. Her decks and superstructure bristled with weapons, from her eight 6-inch guns to her fourteen .303 caliber Lewis guns. She also carried a complement of eight 21-inch torpedoes. She was home to 41 officers, 594 sailors, 6 Royal Australian Air Force personnel, and 4 Civilian canteen staff.
The Kormoran, on the other hand, was a merchant raider, disguised to blend into the merchant fleets of any nation and go unnoticed. All her weapons were hidden behind falling or sliding shields. She carried six 15cm cannons, a small array of anti-aircraft weapons, and six 21-inch torpedoes. She was lightly armored and carried only 400 crew.
On November 19, around 1600 hours both ships were around Carnarvon, Western Australia. The Kormoran spied a ship on the horizon and thought it was a sailing vessel. She approached cautiously, hoping to capture it as a prize. As she approached, she realized her folly, seeing it was an Australian warship.
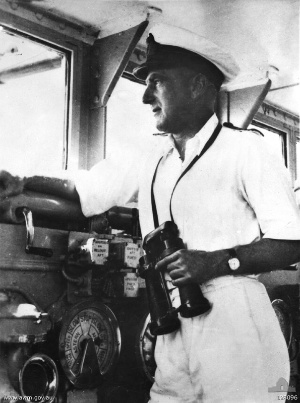
The Sydney caught sight of the little merchant ship and increased her speed to intercept it. The Sydney’s Captain, Joseph Burnett, signaled the ship to identify itself and came in close to the merchant. He was familiar with the Straat Malakka and did not believe there was any danger.
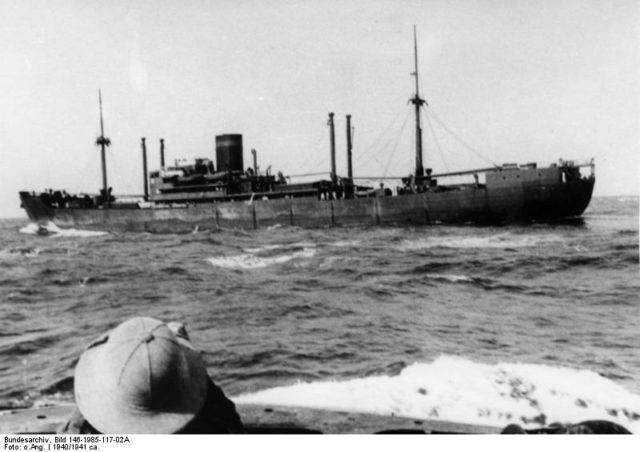
Behind her seemingly unthreatening exterior, the Kormoran’s crew was prepping her guns. The Sydney’s defense against the Kormoran was range and speed. She could easily sink the small converted merchant ship from outside its effective firing range. The two ships were now only 4,300 feet away from one another.
Burnett again signaled to the freighter, asking its destination, port of origin, and goods. The Sydney’s guns were trained on the Kormoran, cautious but not suspicious. Finally, Burnett signaled asking for the Straat Malakka’s secret code. No one on the Sydney expected the Kormoran’s response.
The various plates, covers, and housings dropped away from in front of the German guns, and the merchant raider was revealed. The Kriegsmarine Ensign was hoisted, and a burst of fire erupted from the Kormoran. She struck two hits on the Sydney, launched two torpedoes, and her anti-aircraft and machines guns raked the cruiser’s decks, scattering sailors.
The Sydney’s batteries fired immediately after the German’s. Those shells, though, passed over the top of the merchant raider, doing no damage. As she desperately reloaded her main guns, the ship shook with an explosion. The Kormoran’s second salvo destroyed the cruiser’s bridge and the fire control center. It also knocked out her radio mast. The Kormoran fired three more salvos before the Sydney could reload a single one of her main guns. Those salvos destroyed her forward turrets.
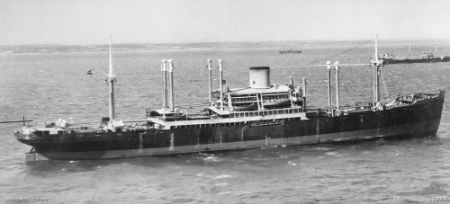
Finally, the cruiser’s aft cannons came into play. They fired salvo after salvo into the Kormoran damaging one of her guns and machinery spaces, and causing an oil tank to catch fire. As smoke filled the air around the ships, another explosion rocked the Sydney. One of Kormoran’s torpedoes struck its mark, in the forward sonar room. Water gushed into the bow of the ship, and she slowed as her forward end tipped into the deep blue ocean.
The Kormoran did not give up. It fired two more salvos, destroying the cruiser’s forward turrets. Her two aft turrets were jammed, and she was taking on massive amounts of water. Defenseless, she was unable to sustain combat.
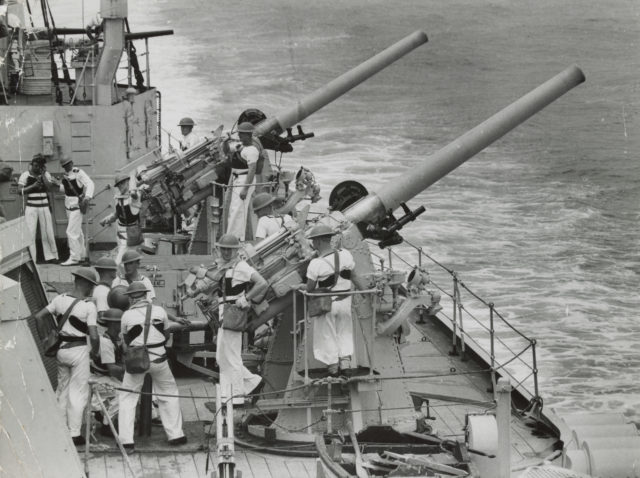
The cruiser pulled away heading south, hoping to reach the mainland. In the last act of defiance, she fired a torpedo salvo at the merchant raider. Detmers, the Kormoran’s captain, pulled his ship about just as the torpedoes were getting close, and they passed harmlessly astern.
However, the fires on board the Kormoran had spread to the engine compartment, and her engines shut down. Now dead in the water, the Kormoran continued firing at the fleeing cruiser.
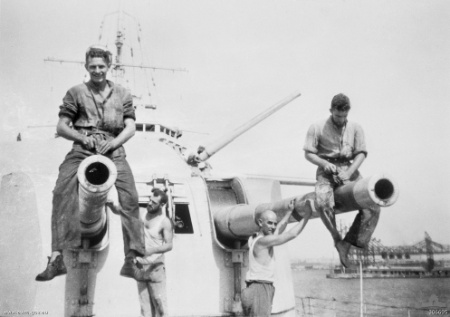
The Sydney kept heading south at low speed but sometime during the night her bow section completely separated from the ship, and she sank. All 645 members of her crew were lost.
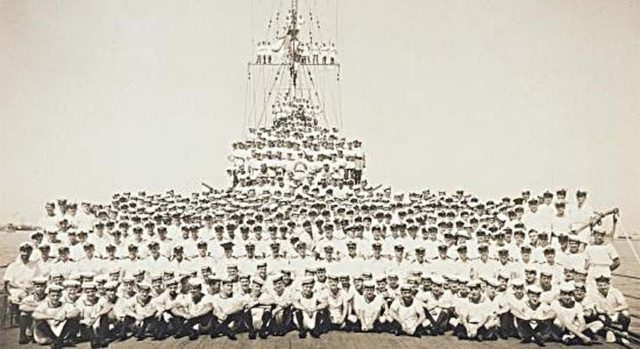
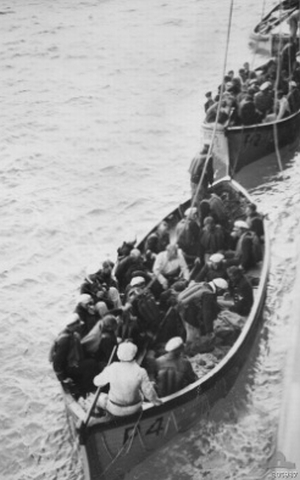
The Kormoran’s crew abandoned their ship shortly after the engagement. Her fires could not be controlled before they reached the ammunition or her cargo of mines and so she was scuttled.
They were picked up by Australian fishermen, patrol craft, and search vessels. Everything we know about this battle comes from their accounts, combined with archeological surveys of the Sydney.
The conflict between the ships remains one of the most confusing battles of the WWII, and to this day many questions are unanswered. Why did Burnett not exercise greater caution when approaching the Kormoran? Why did not one sailor from the Sydney attempt to abandon ship? The answers will never be known.
